
What you receive is a PCB, a bag of components, and a construction manual. PC software is downloadable at no extra cost. One of the components is a PIC microcontroller, which is shipped with pre-installed firmware.
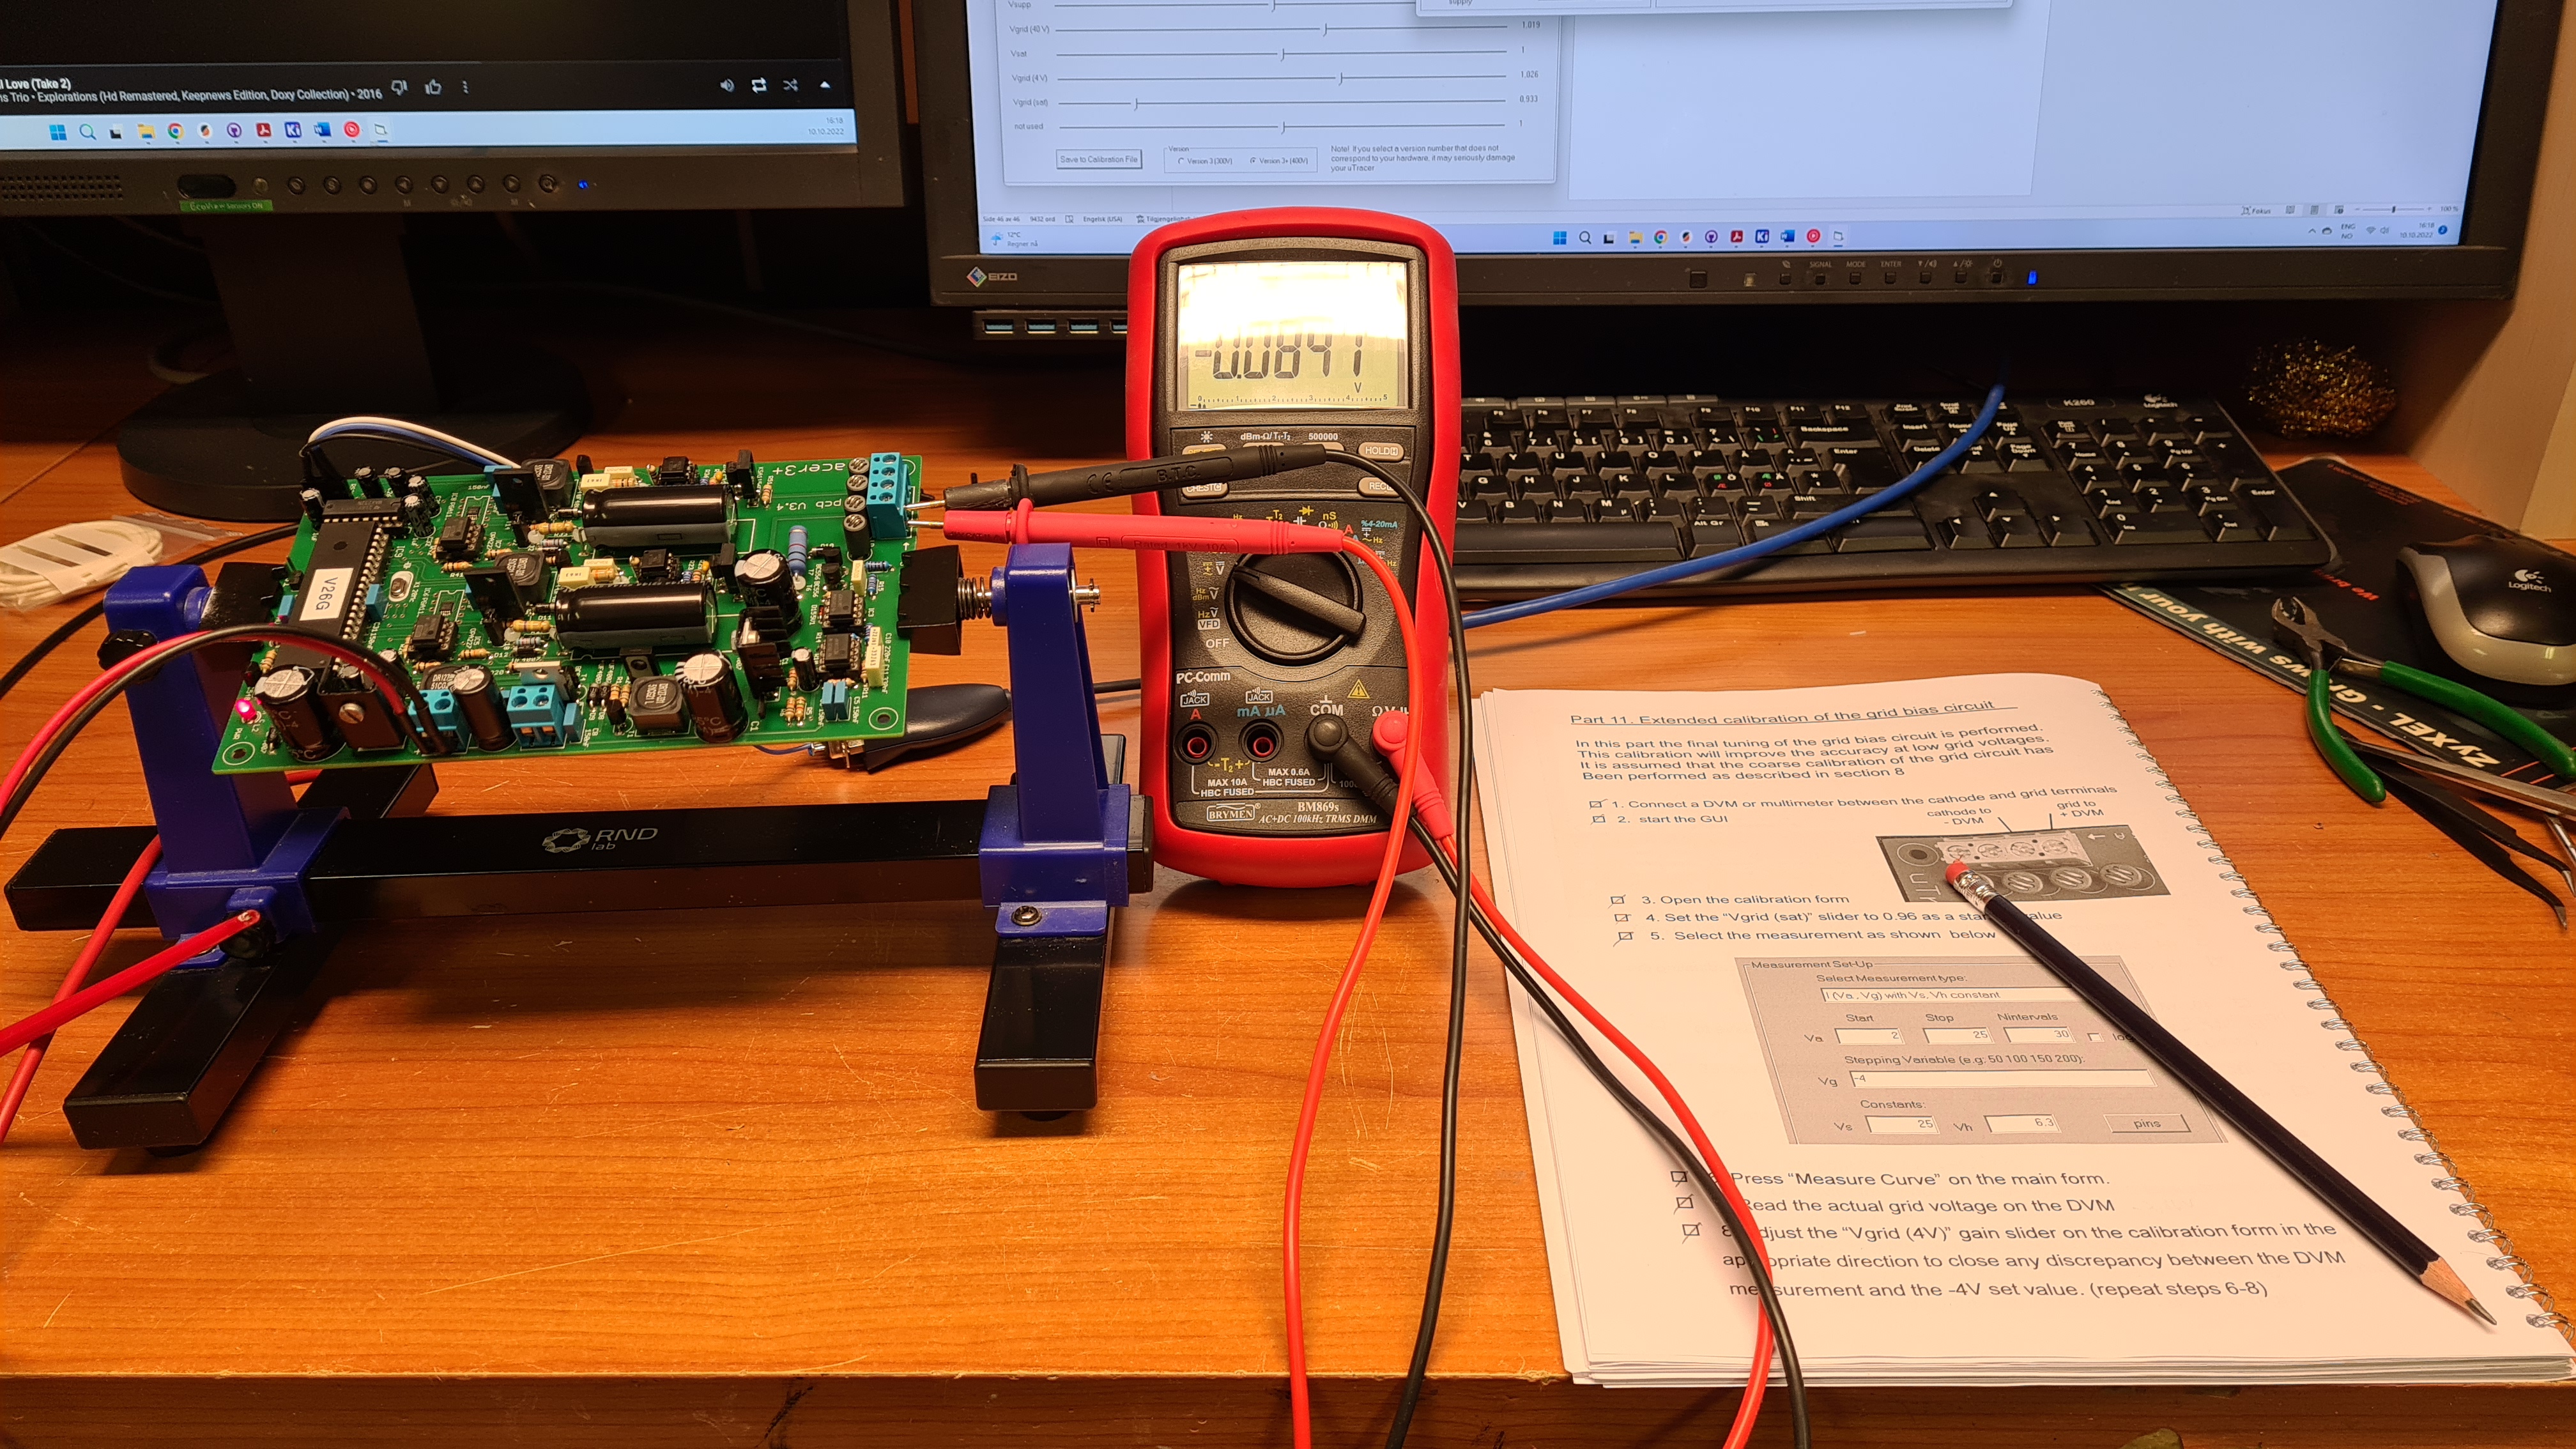
What you need in addition is an appropriate enclosure, tube sockets, some wires and connectors, a standard 19.5V power supply from a laptop, and a RS232-to-USB adapter (an alternative will be described in my next post). You only need basic tools like soldering iron, multimeter, screwdrivers etc. A variable DC power supply is, however, beneficial during the construction- and calibration process.
With the thorough and well thought out construction manual, I found the kit easy to build and calibrate. Just follow each step carefully, and you will succeed.
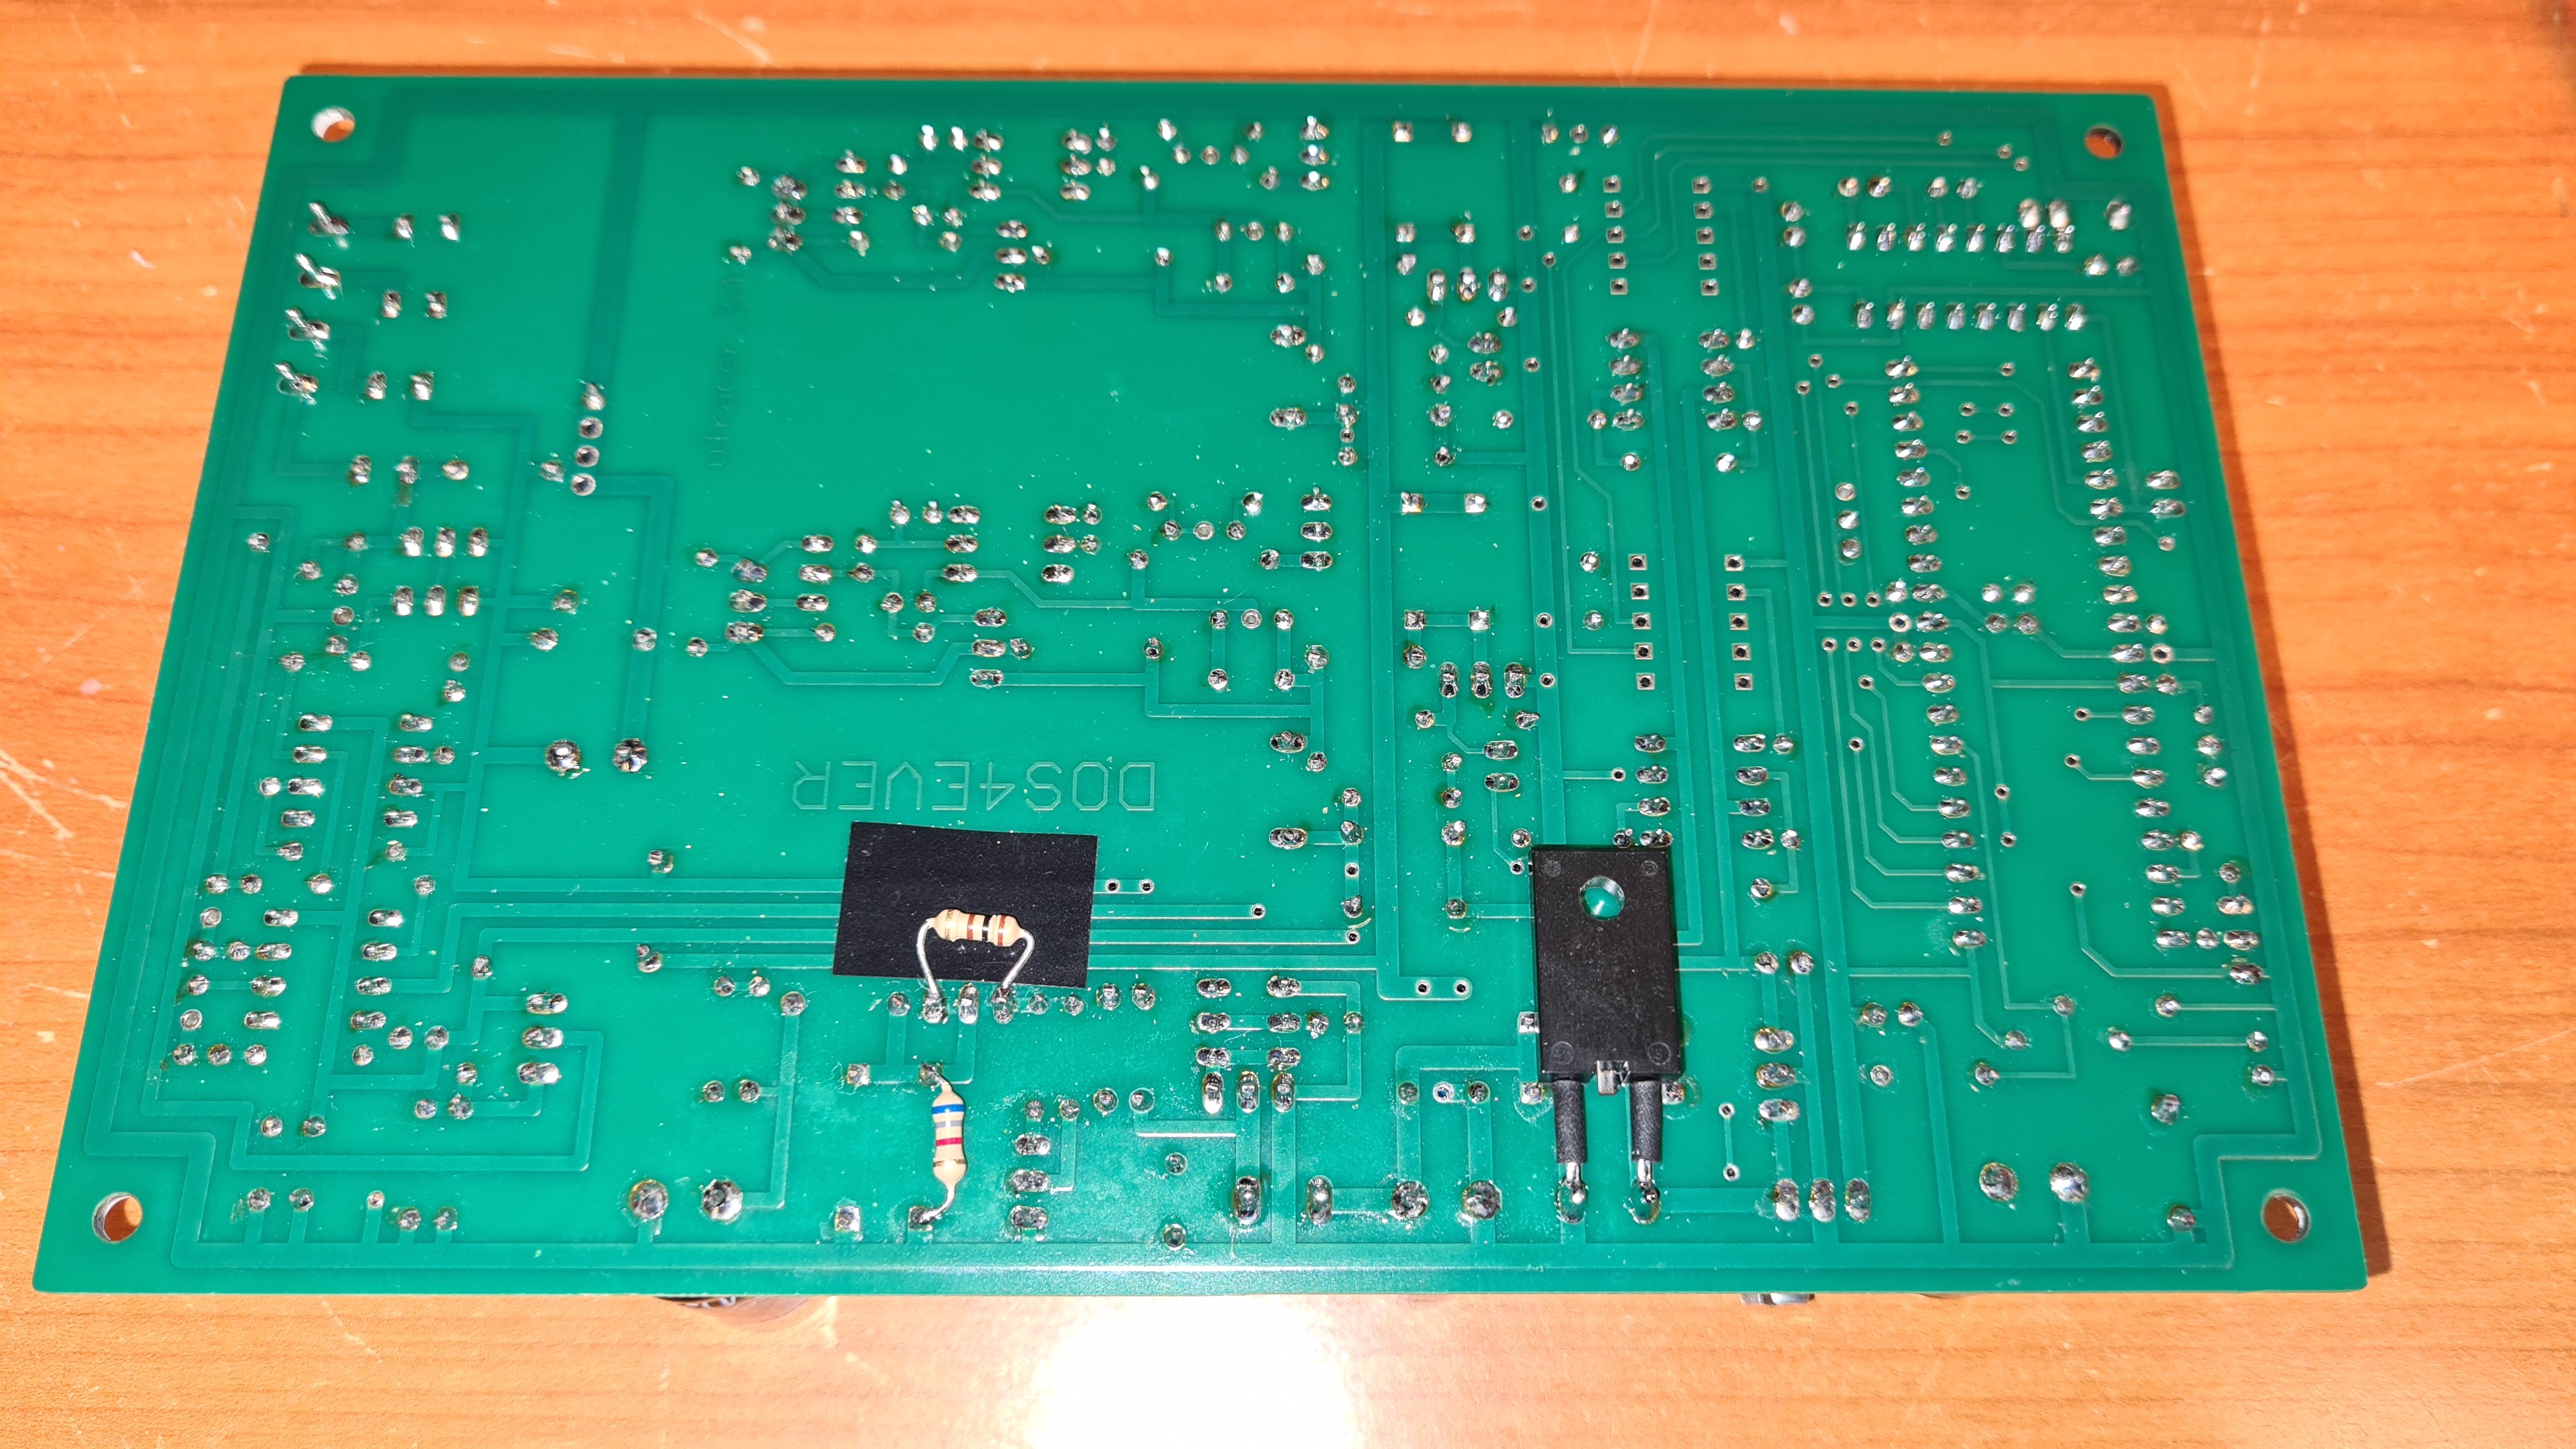
After the PCB was manufactured, the need for a slight modification has arisen (a couple of extra resistors need to be soldered in) , but this is also well documented in the manual, so don’t worry.
You are warned that reversing the polarity from the DC power supply will destroy the µTracer. The manual shows a tip on how to avoid this. In addition, I added an extra safety measure: On the PCB bottom, right underneath the DC input connector, I soldered a high-current schottky diode which is reverse-biased and hence draws no current when polarity is correct. If the polarity is reversed, the diode is forward biased, and draws enough current to blow the fuse between the DC-adapter and the µTracer board (or trigger the power adapter’s overcurrent protection), thereby protecting the circuit.
For any later versions of µTracer, I hope that the designer will add onboard polarity protection. An efficient way of doing this is described in my post Concept: Low loss polarity protection using a MOSFET.
The kit almost exclusively uses through-hole components. There are a couple of SMD IC’s, but these come presoldered on the PCB.
The calibration procedure is just as easy as the construction: just follow the steps in the construction manual.
Two things to beware of:
- The included software is for Windows only. There is a 3rd-party software which also compiled for Linux, but I have yet to try that out.
- µTracer uses RS232 to communicate with the PC. Unless you have a PC with RS232 port, you will need a RS232-to-USB-converter, which can be bought from computer shops.
I decided to design a plug-in solution that gives USB connection straight from the µTracer board. This will be described in my next post.

Leave a comment