
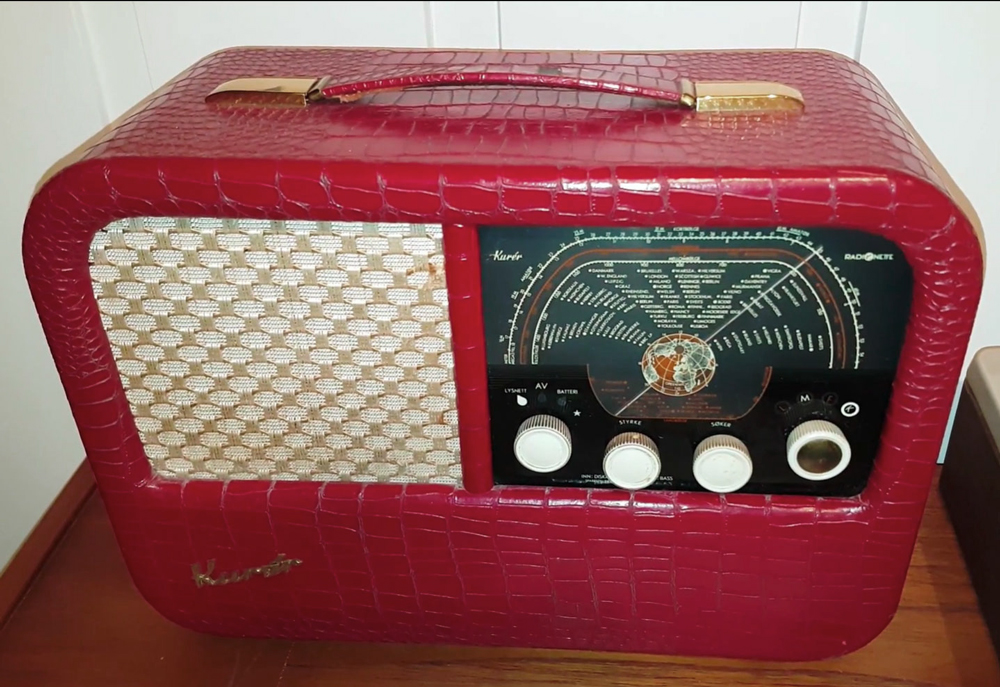
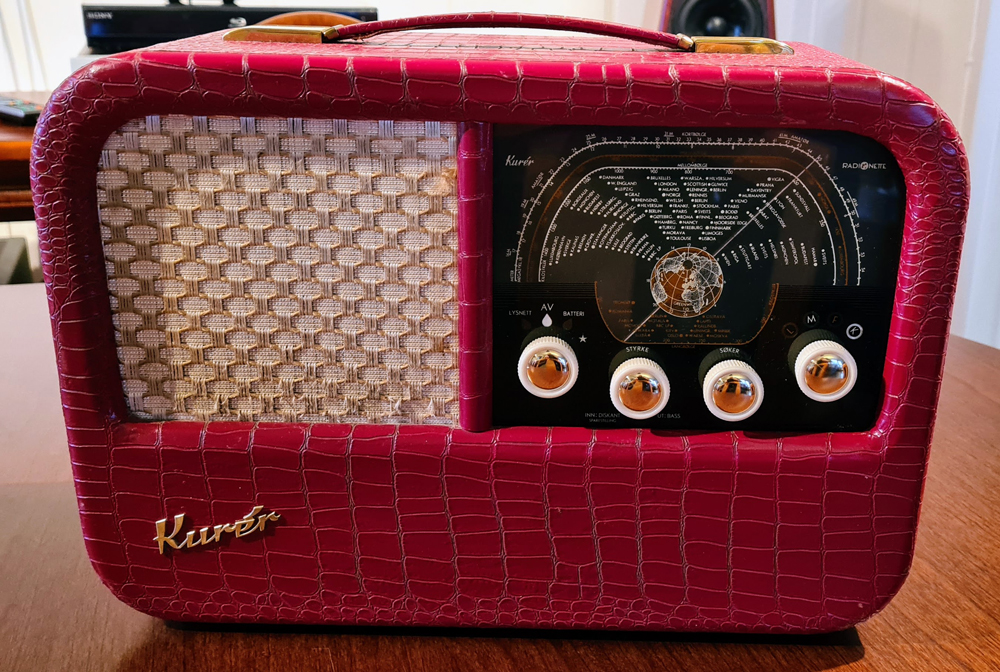
A Radionette Kurér in good condition; almost complete, except several missing brass covers. Many Norwegian radio collectors have faced the same problem, and replacements of the right shape and size aren’t readily available.
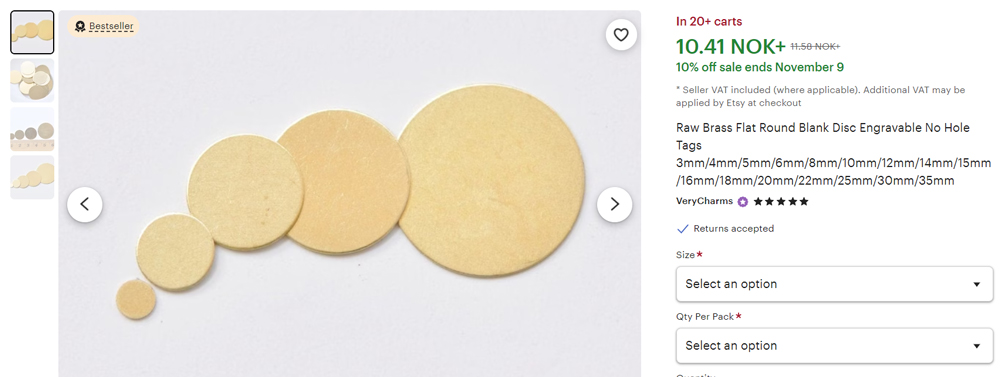
I thought I’d try to make some shiny new brass lids. Originally these were probably punched out of thin brass plates, and simultaneously pressed to the right shape, using a some sort of mechanical press and hole punches/molds of steel. Instead of finding a solution for cutting or punching out new disks, I bought some flat brass blanks via Etsy; slightly thicker than the original Kurér brass covers, but otherwise of exactly the right size.
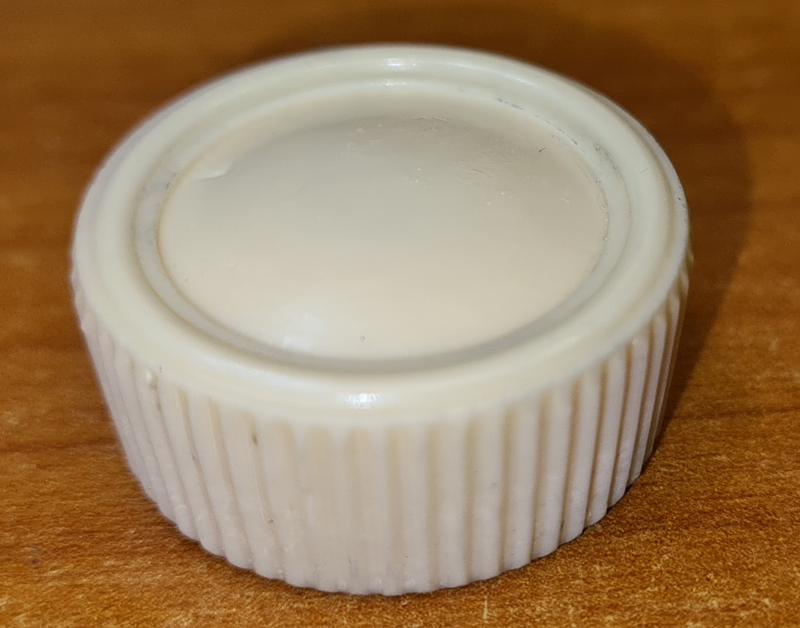
The flat disks need to be pressed to a convex shape that precisely matches the rounded surface of the radio knobs.
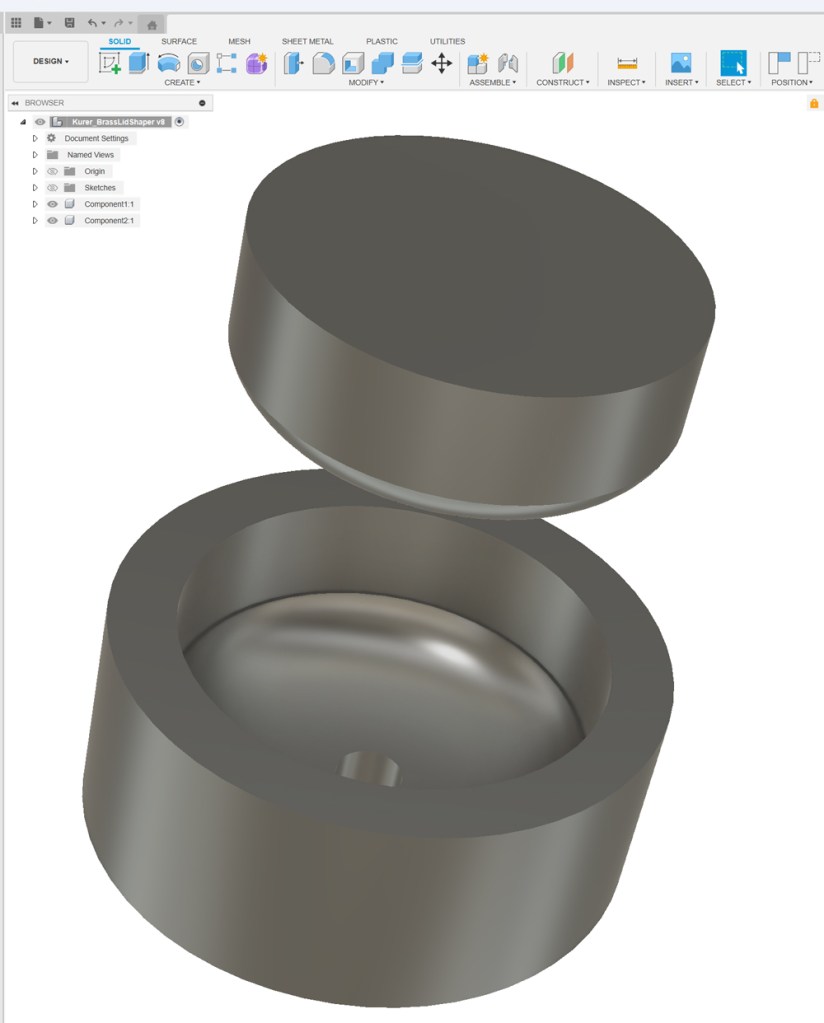
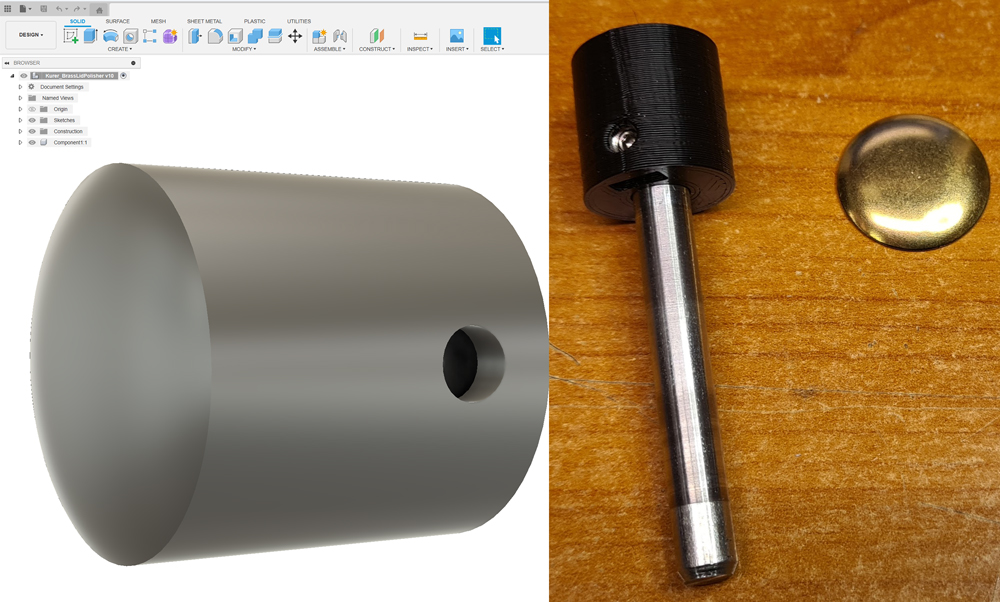
I designed a tool in Fusion 360, consisting of two parts which are to be pressed together, with a brass blank in between. Getting the right shape was harder than it may look; it turned ut that the curves of the tool needed to be slightly steeper than the button shape, in order to give the brass stamps the right curves (the brass probably bends back a tiny bit after pressing).
To gradually approach the right tool shapes, I 3D printed models of ASA and PLA plastic. The plastic molds were strong enough to press one brass blank, but the brass got stuck in the plastic, and the molds needed to be cut in half to free the disk.
Next step was to make the tool out of metal. In lack of a CNC lathe (and the skills to use it), I needed professional help to perform the machining. My favorite PCB manufacturer, JLCPCB, has recently started offering CNC machining services, so I decided to give them a try.


The production process took 3 days.
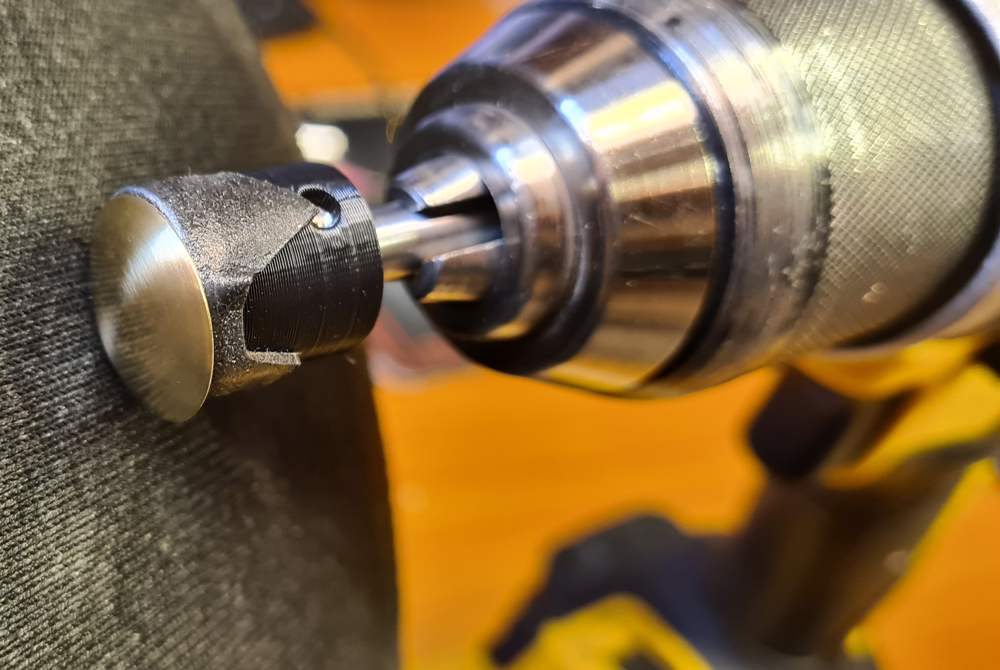
I’m using a vise as press, which is slow, but mass production is not my intention anyway.

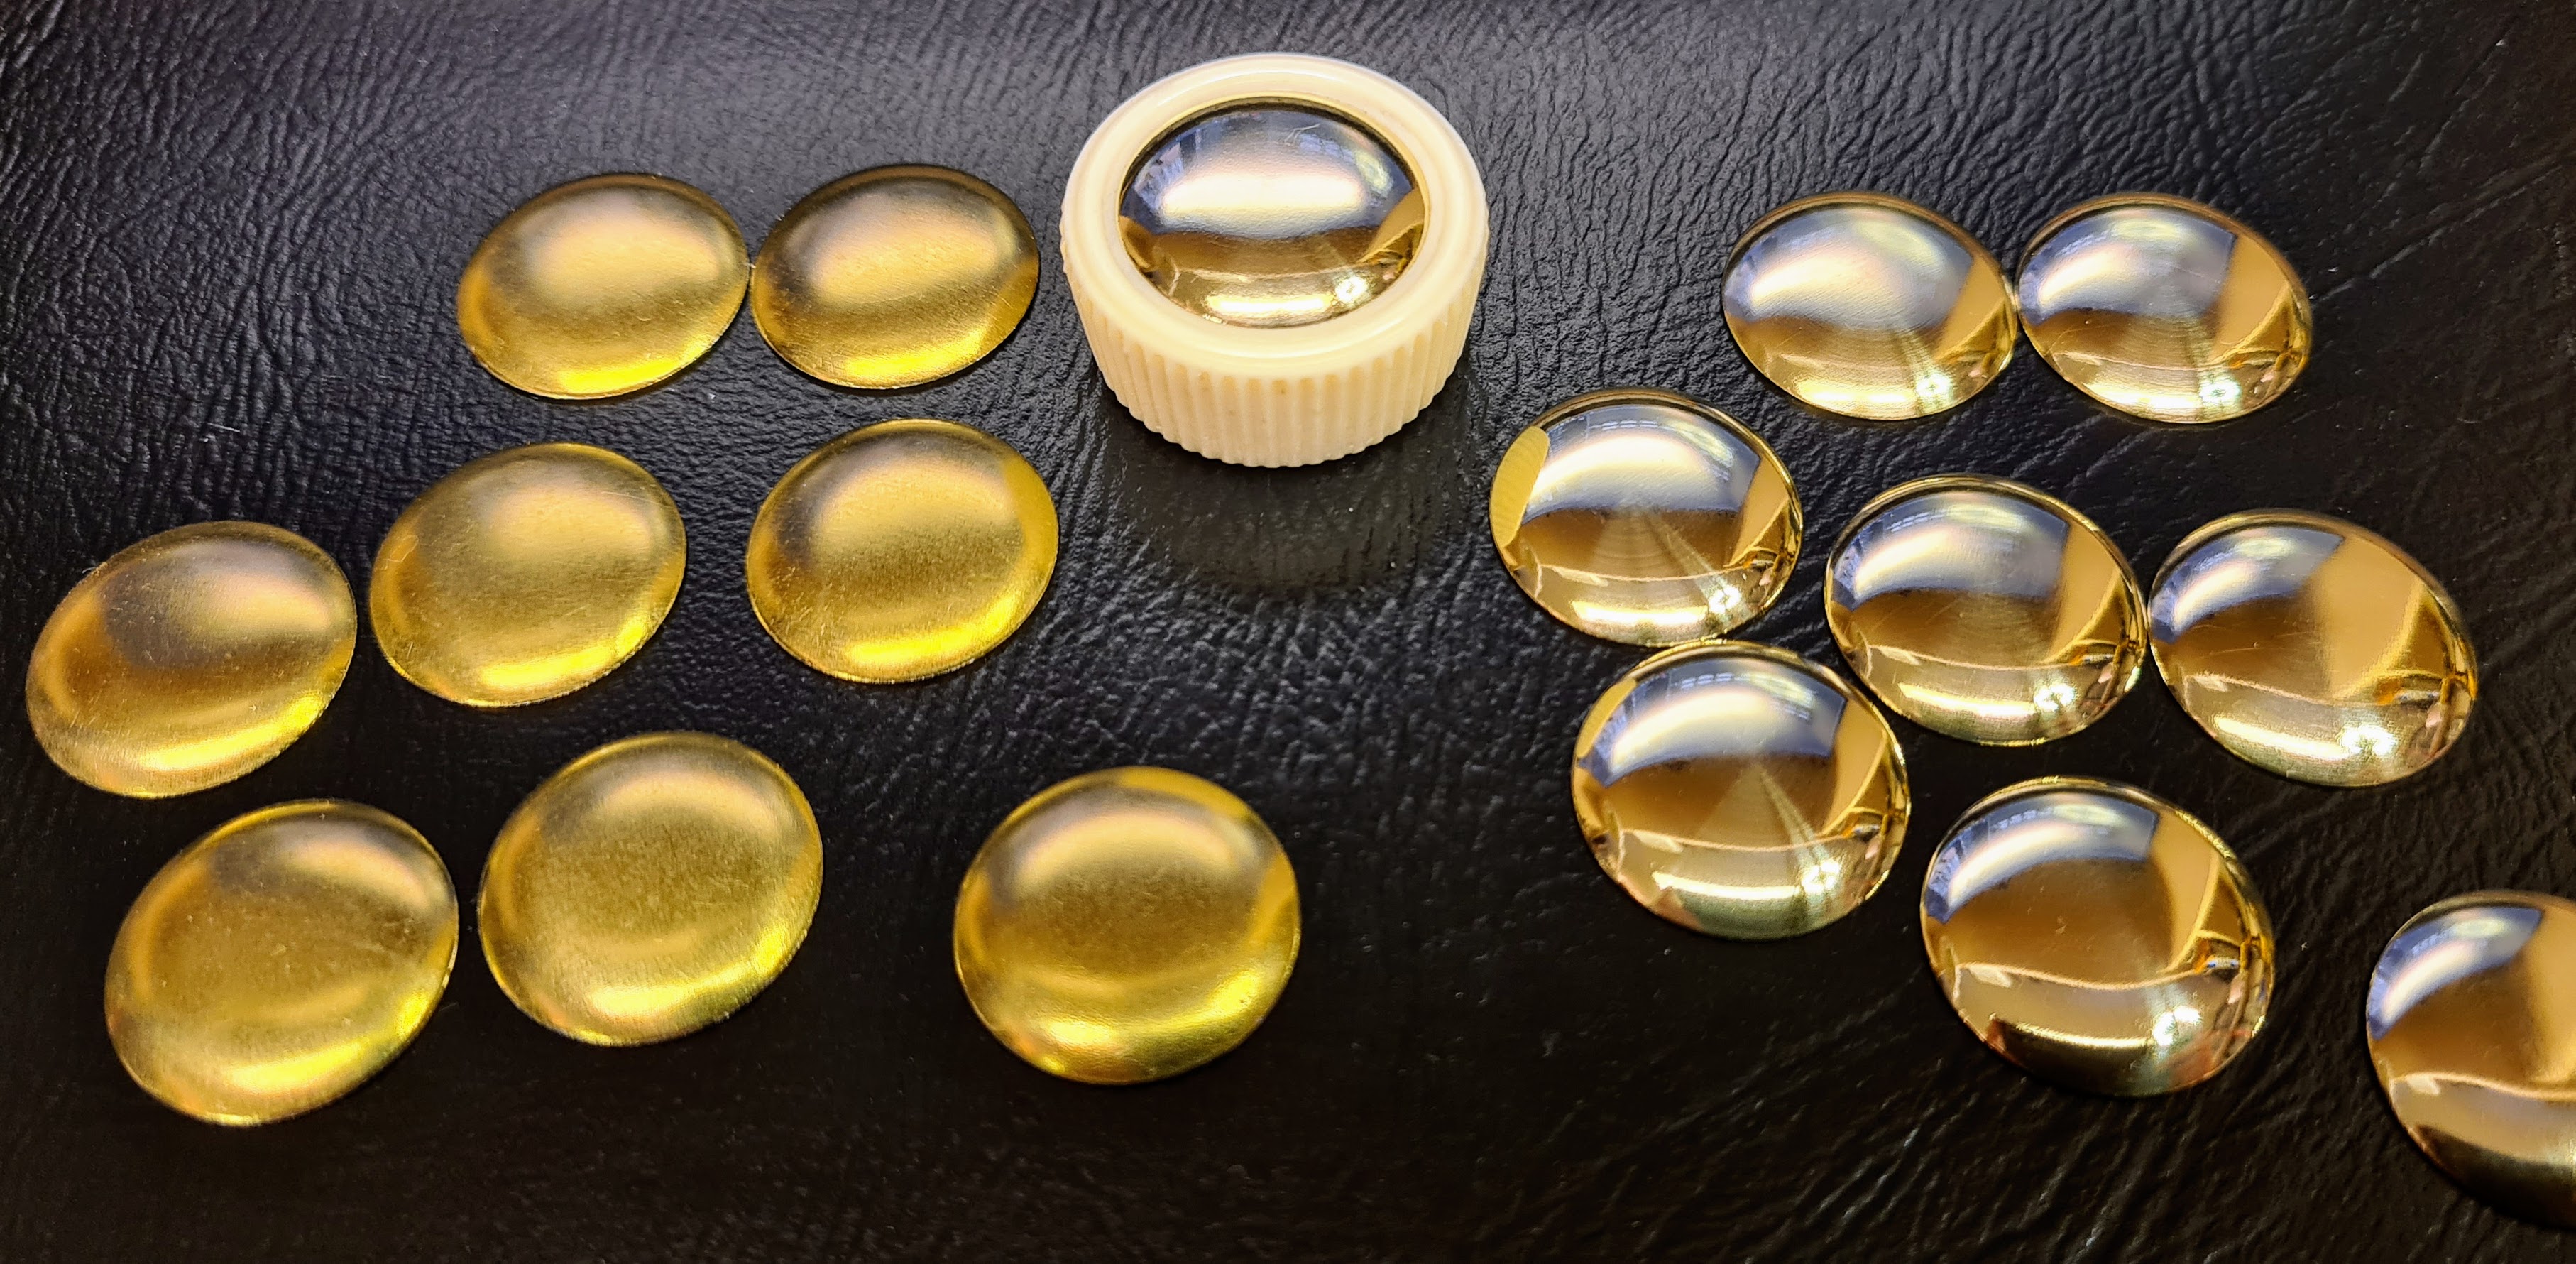
One nice and curvy piece of brass, ready for the next step: getting shiny.
Polishing can be a tedious process, unless you are inventive.
Step 1: P2000 abrasive pad.

Step 2: Metal polish and felt.

Leave a comment