
Inhaling large amounts of solder fume is probably not healthy, so having a solder fume extractor may be a good idea. There are a lot of solutions on the market, from small and cheap (and inefficient) fans to place on your table top, to expensive ventilation/extraction systems for industrial use. Since the hot fumes rise upwards, the fume extractor should be placed above the soldering iron and the object on which you are soldering, and a flexible arm may be handy.
To achieve a solution which is both cheap and efficient, I decided to design and build my own, reusing the arm from an old Luxo desk lamp, adding a 140mm PC fan and a carbon filter, a homemade 12VDC power supply, LED strips, plus some 3D printed parts.

Carbon filter: RND-560-00157 from Elfa Distrelec.
Power supply
The PSU is based on a Mean Well MPM-15-12 power module (IRM-20-12 can also be used). Two DPST rocker switches for turning on/off the fan and the LED illumination individually. When both switches are off, the power module is disconnected from mains (in this case 230V, but voltages between 100 and 240VAC, 50/60Hz are acceptable). Two LEDs show the state of each switch.


3D modeling and printing
To design the parts for 3D printing, I used Fusion 360.


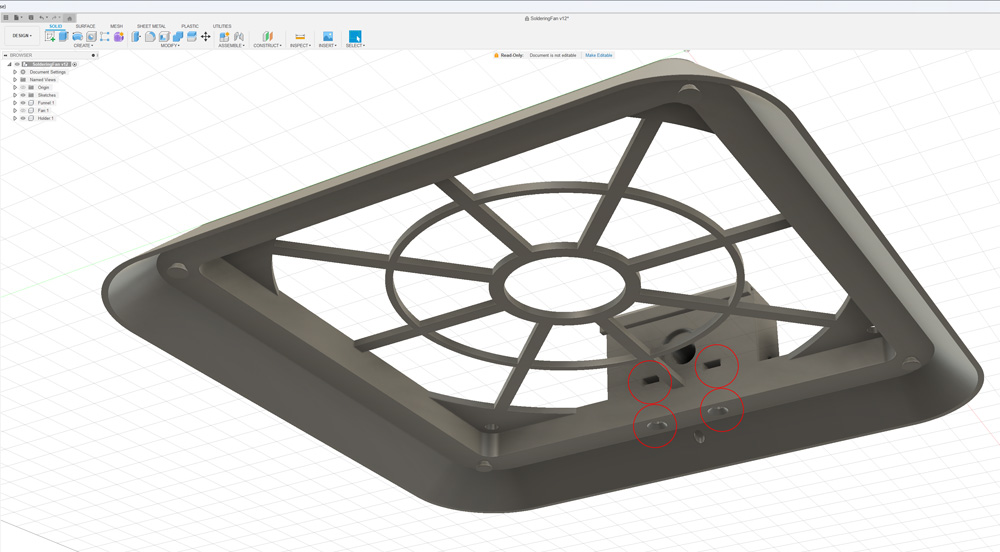


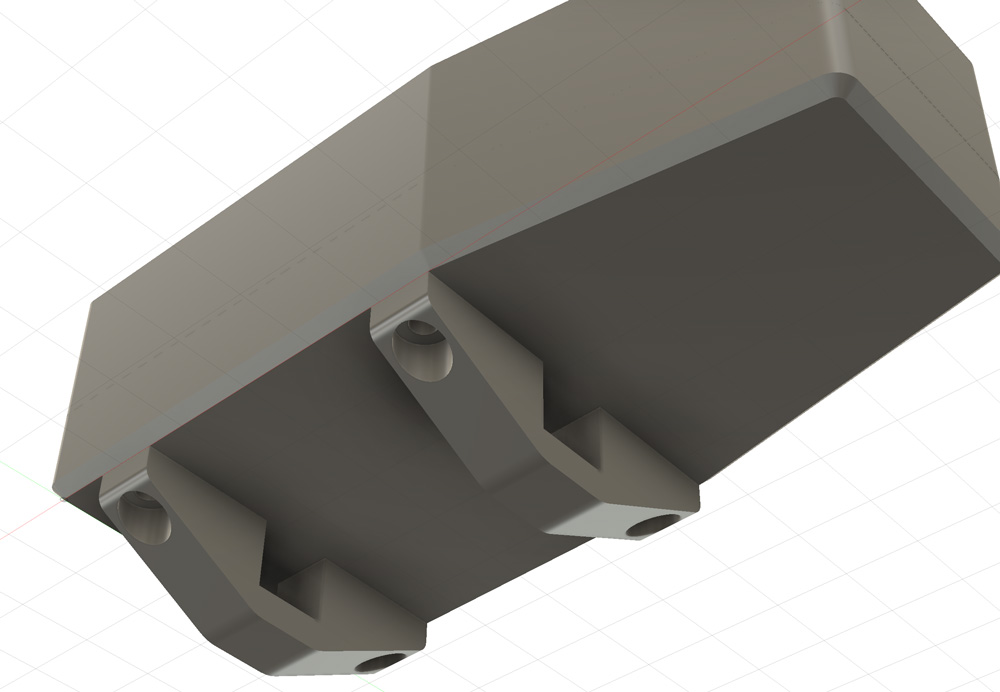
All plastic parts were printed using Prusament PETG, but other filaments like ASA or PLA will probably work fine.
Assembly


The carbon filter is held in place by rubber bands.

In use when repairing a Tandberg Sølvsuper radio. The solution efficiently removes solder fumes, while being reasonably quiet, and provides good work light. 3D models (.stl) and KiCad design files and Gerber files for PCB manufacturing are available on my Github repository: https://github.com/donpivo/SolderFumeExtractor

Leave a comment