Restoring, remodeling and creating electronic devices
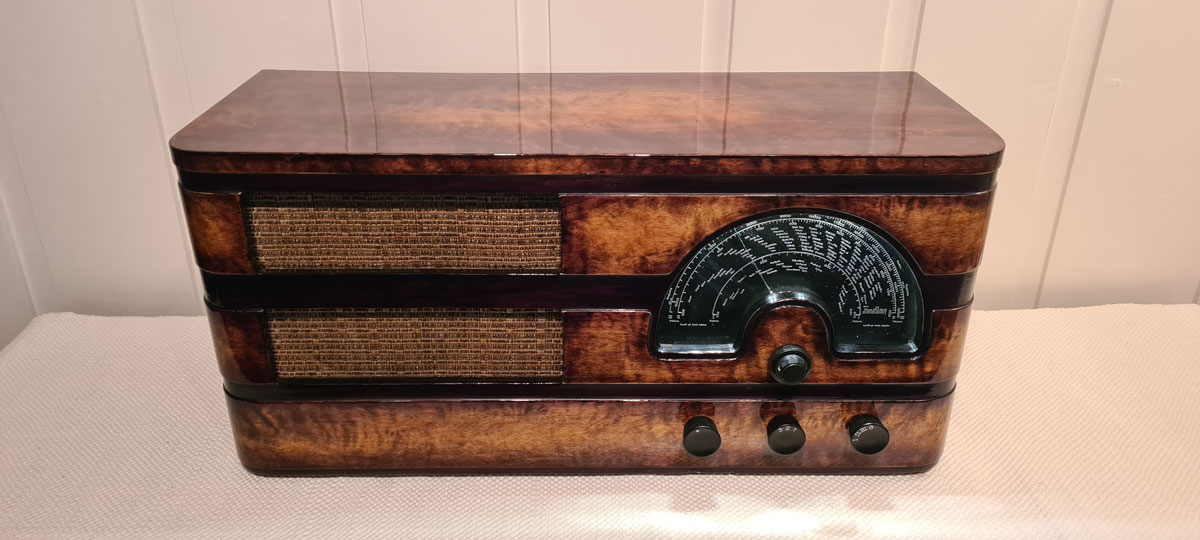
Restoration: Tandberg Sølvsuper
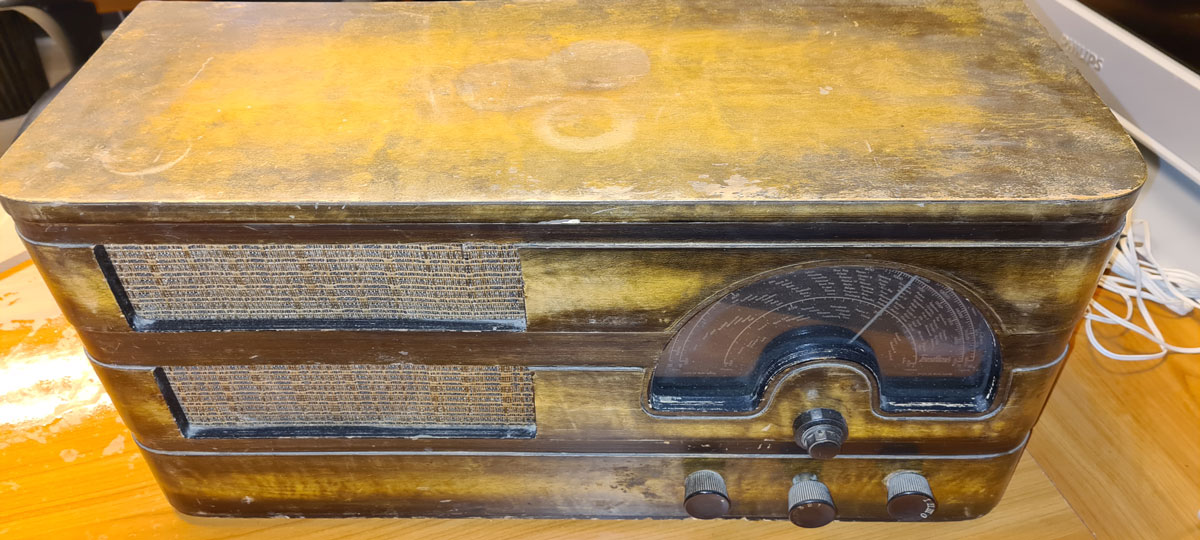
The first Sølvsuper model from Tandberg was manufactured between 1936-38, in a total of 6900 units. You don’t often find these for sale, but I was lucky enough to get one in decent condition, at a reasonable price. The one I’ve got has a frequency scale of metal, and is most likely from the first model year, as on later editions, the frequency scale was printed on glass.
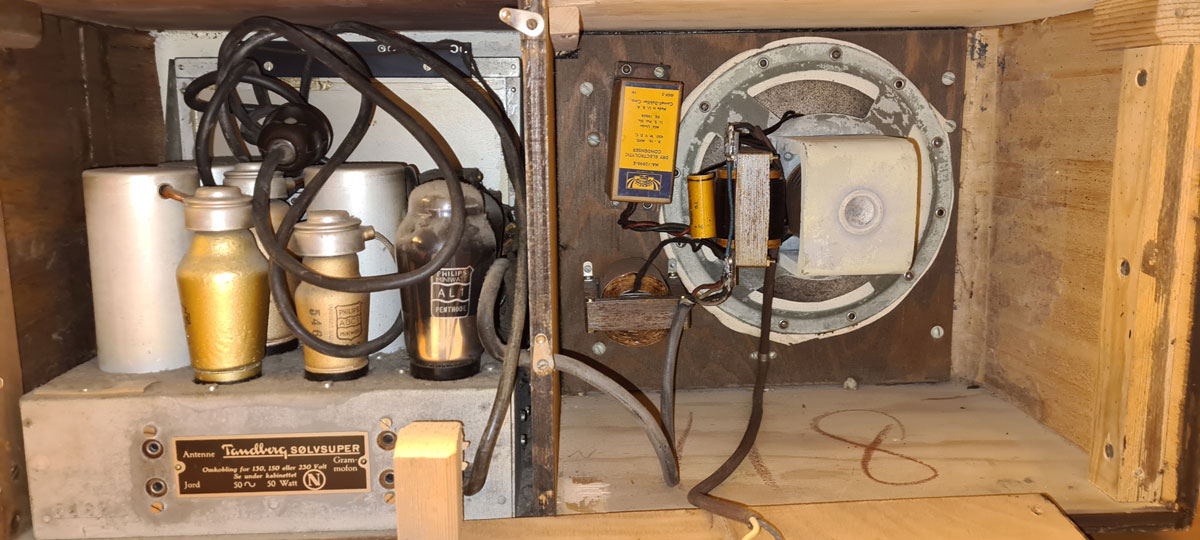
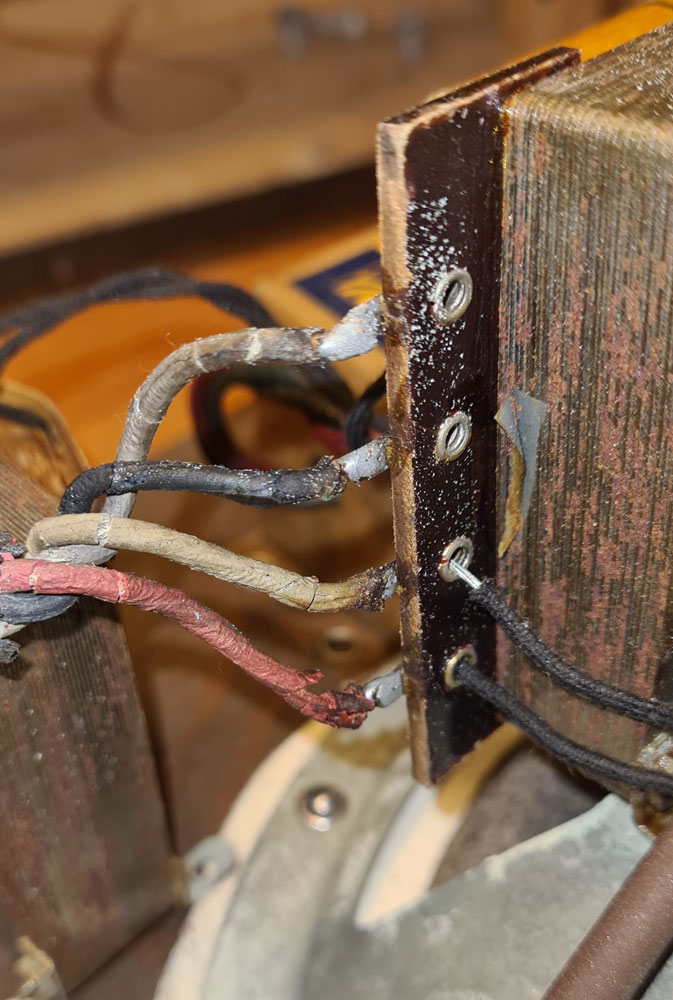
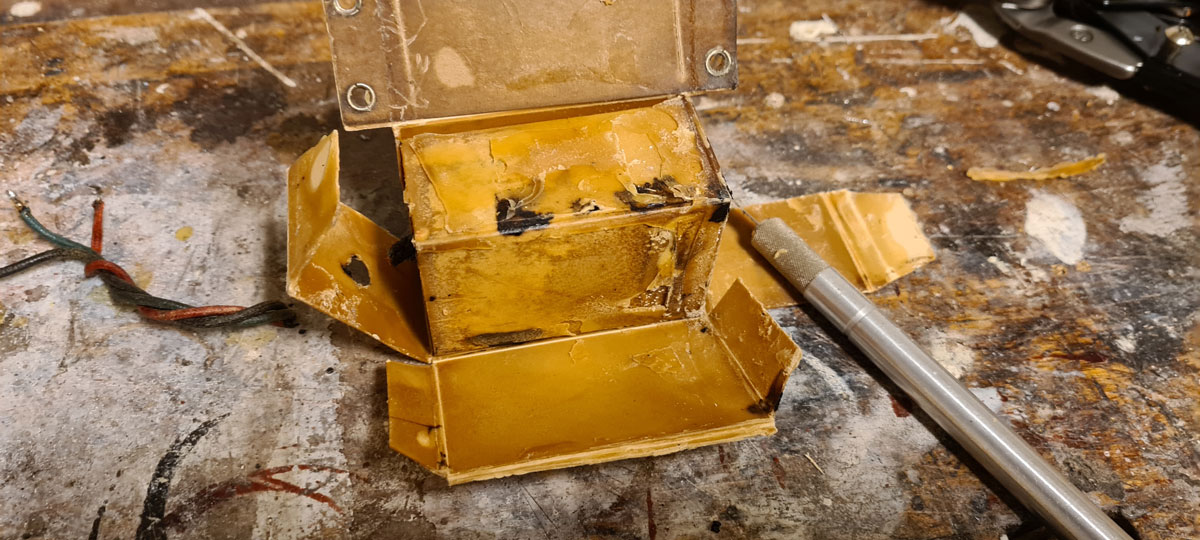
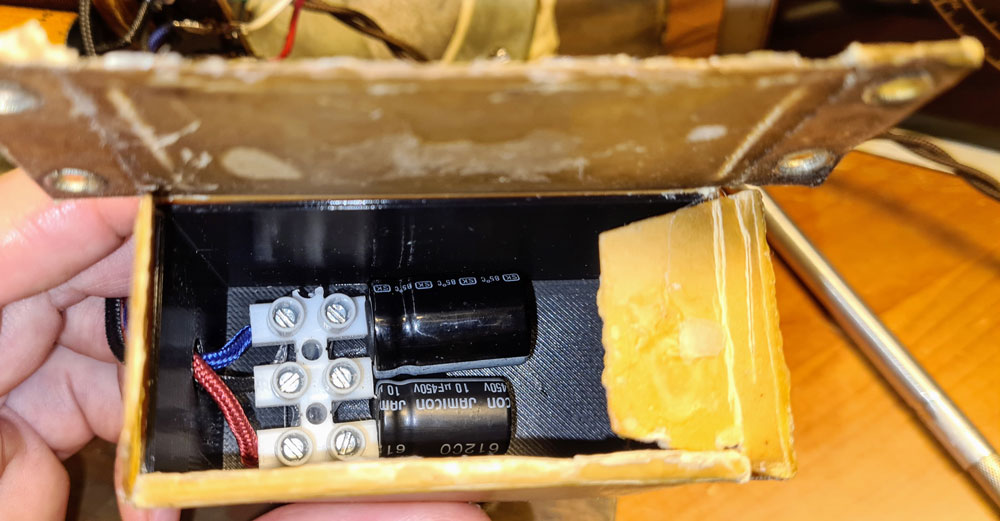
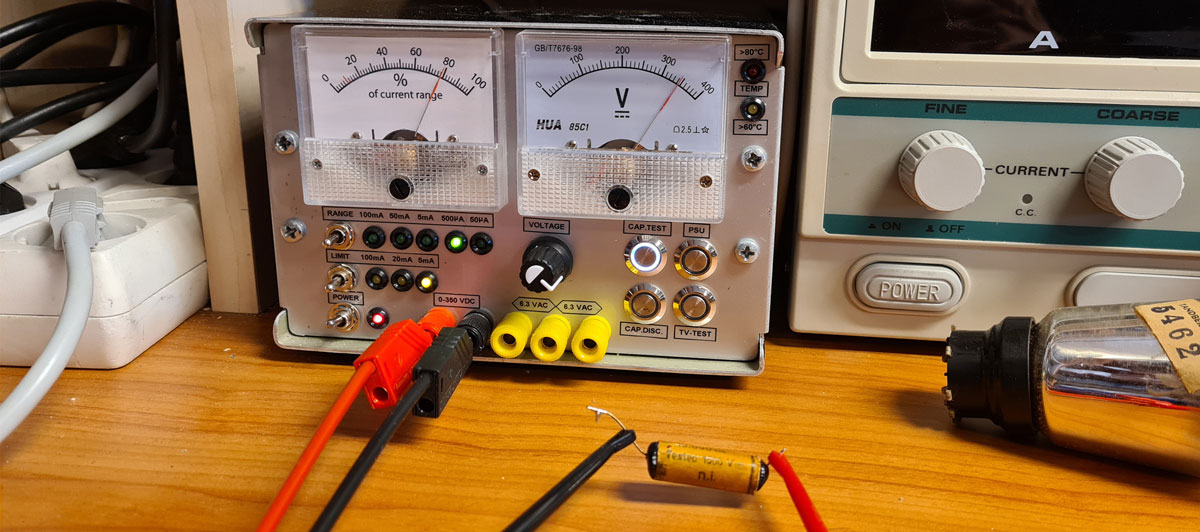
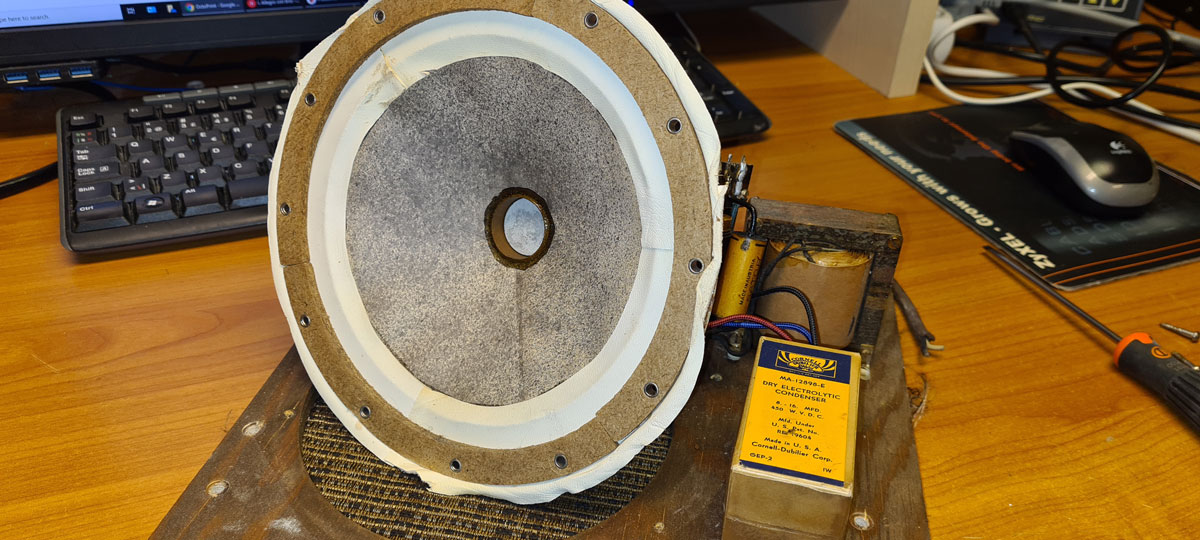
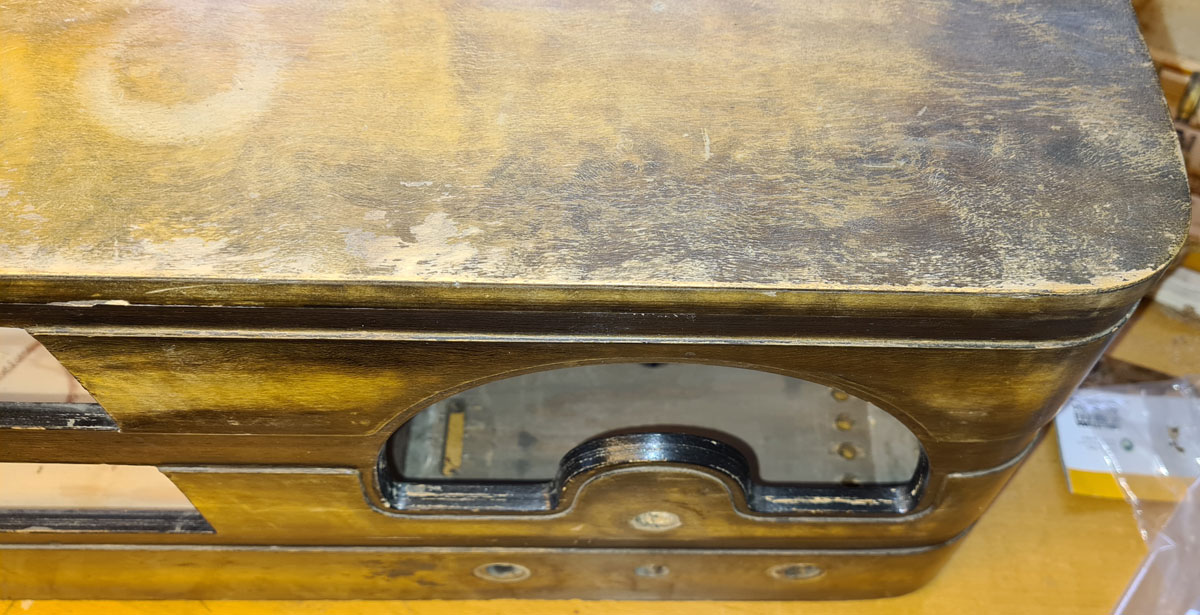
The state in which I got it; complete except a missing rear cover plate. The varnish was crackled and partly flaked off, and there were some scratches in the veneer, but otherwise not bad at all 🙂All parts present on the inside, but on a radio of this age, one must expect to replace most of the capacitors. The cardboard box with yellow label (to the left of the loudspeaker) is a dual electrolytic cap. The rubber insulation was crumbly, and all rubber cables/wires had to be replaced.New 2-pair cable for interconnection between radio chassis and loudspeaker. Acetone removes the cable markings.The original electrolytic caps had dried out, and had to be replaced. When opening the cardboard box, the inside looked like it might as well be a lump of butter from 1936 😀To make it look authentic, I re-stuffed the old cardboard box with new caps. The original caps were 8 and 16µF, were replaced with slightly larger 10 and 22 µF. This is well within the rectifier’s max rating of 60µF. A 3D printed box on the inside, helps the cardboard box maintain it’s shape.I found some nice braided wire on eBay, which looks almost authentic: https://www.ebay.com/itm/141631166903?var=440783425432As expected, all original paper capacitors were leaky. The leakage test was performed with this homemade instrument: DIY capacitor leakage tester + high voltage PSU, part 4: measuring capacitor leakage
By carefully heating the old caps with a heat gun, the wax inside them melted, and I could pull the contents out of the sleeves, which were re-stuffed with new polyester caps. The empty space inside the sleeves was then filled with black sealant.
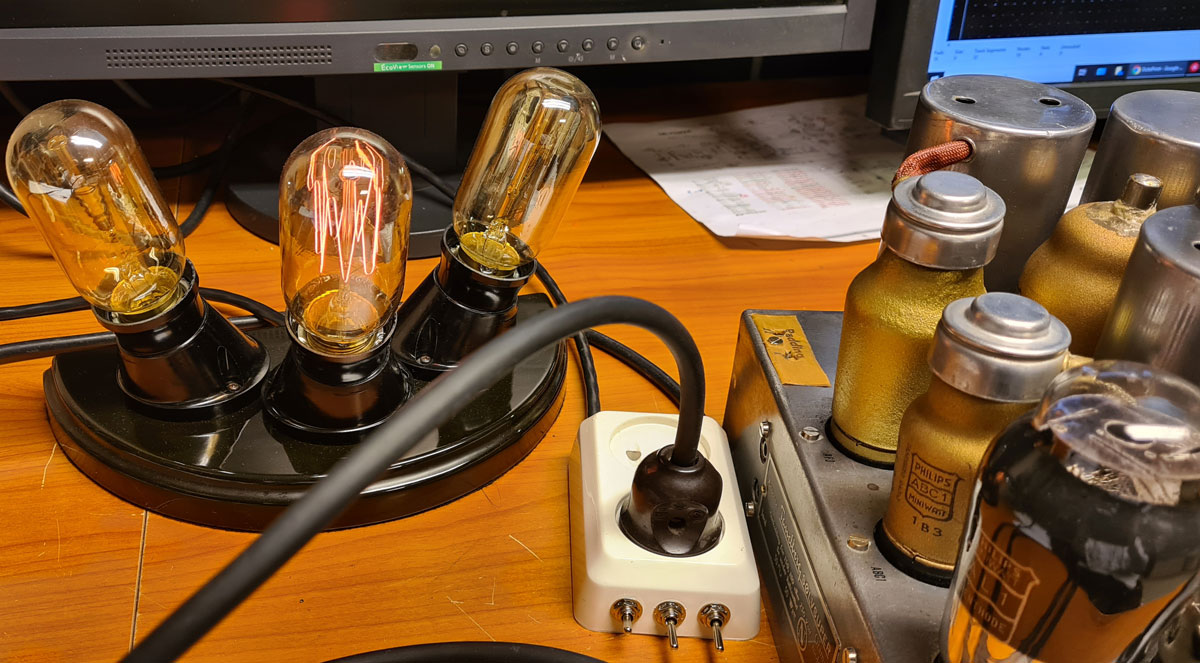
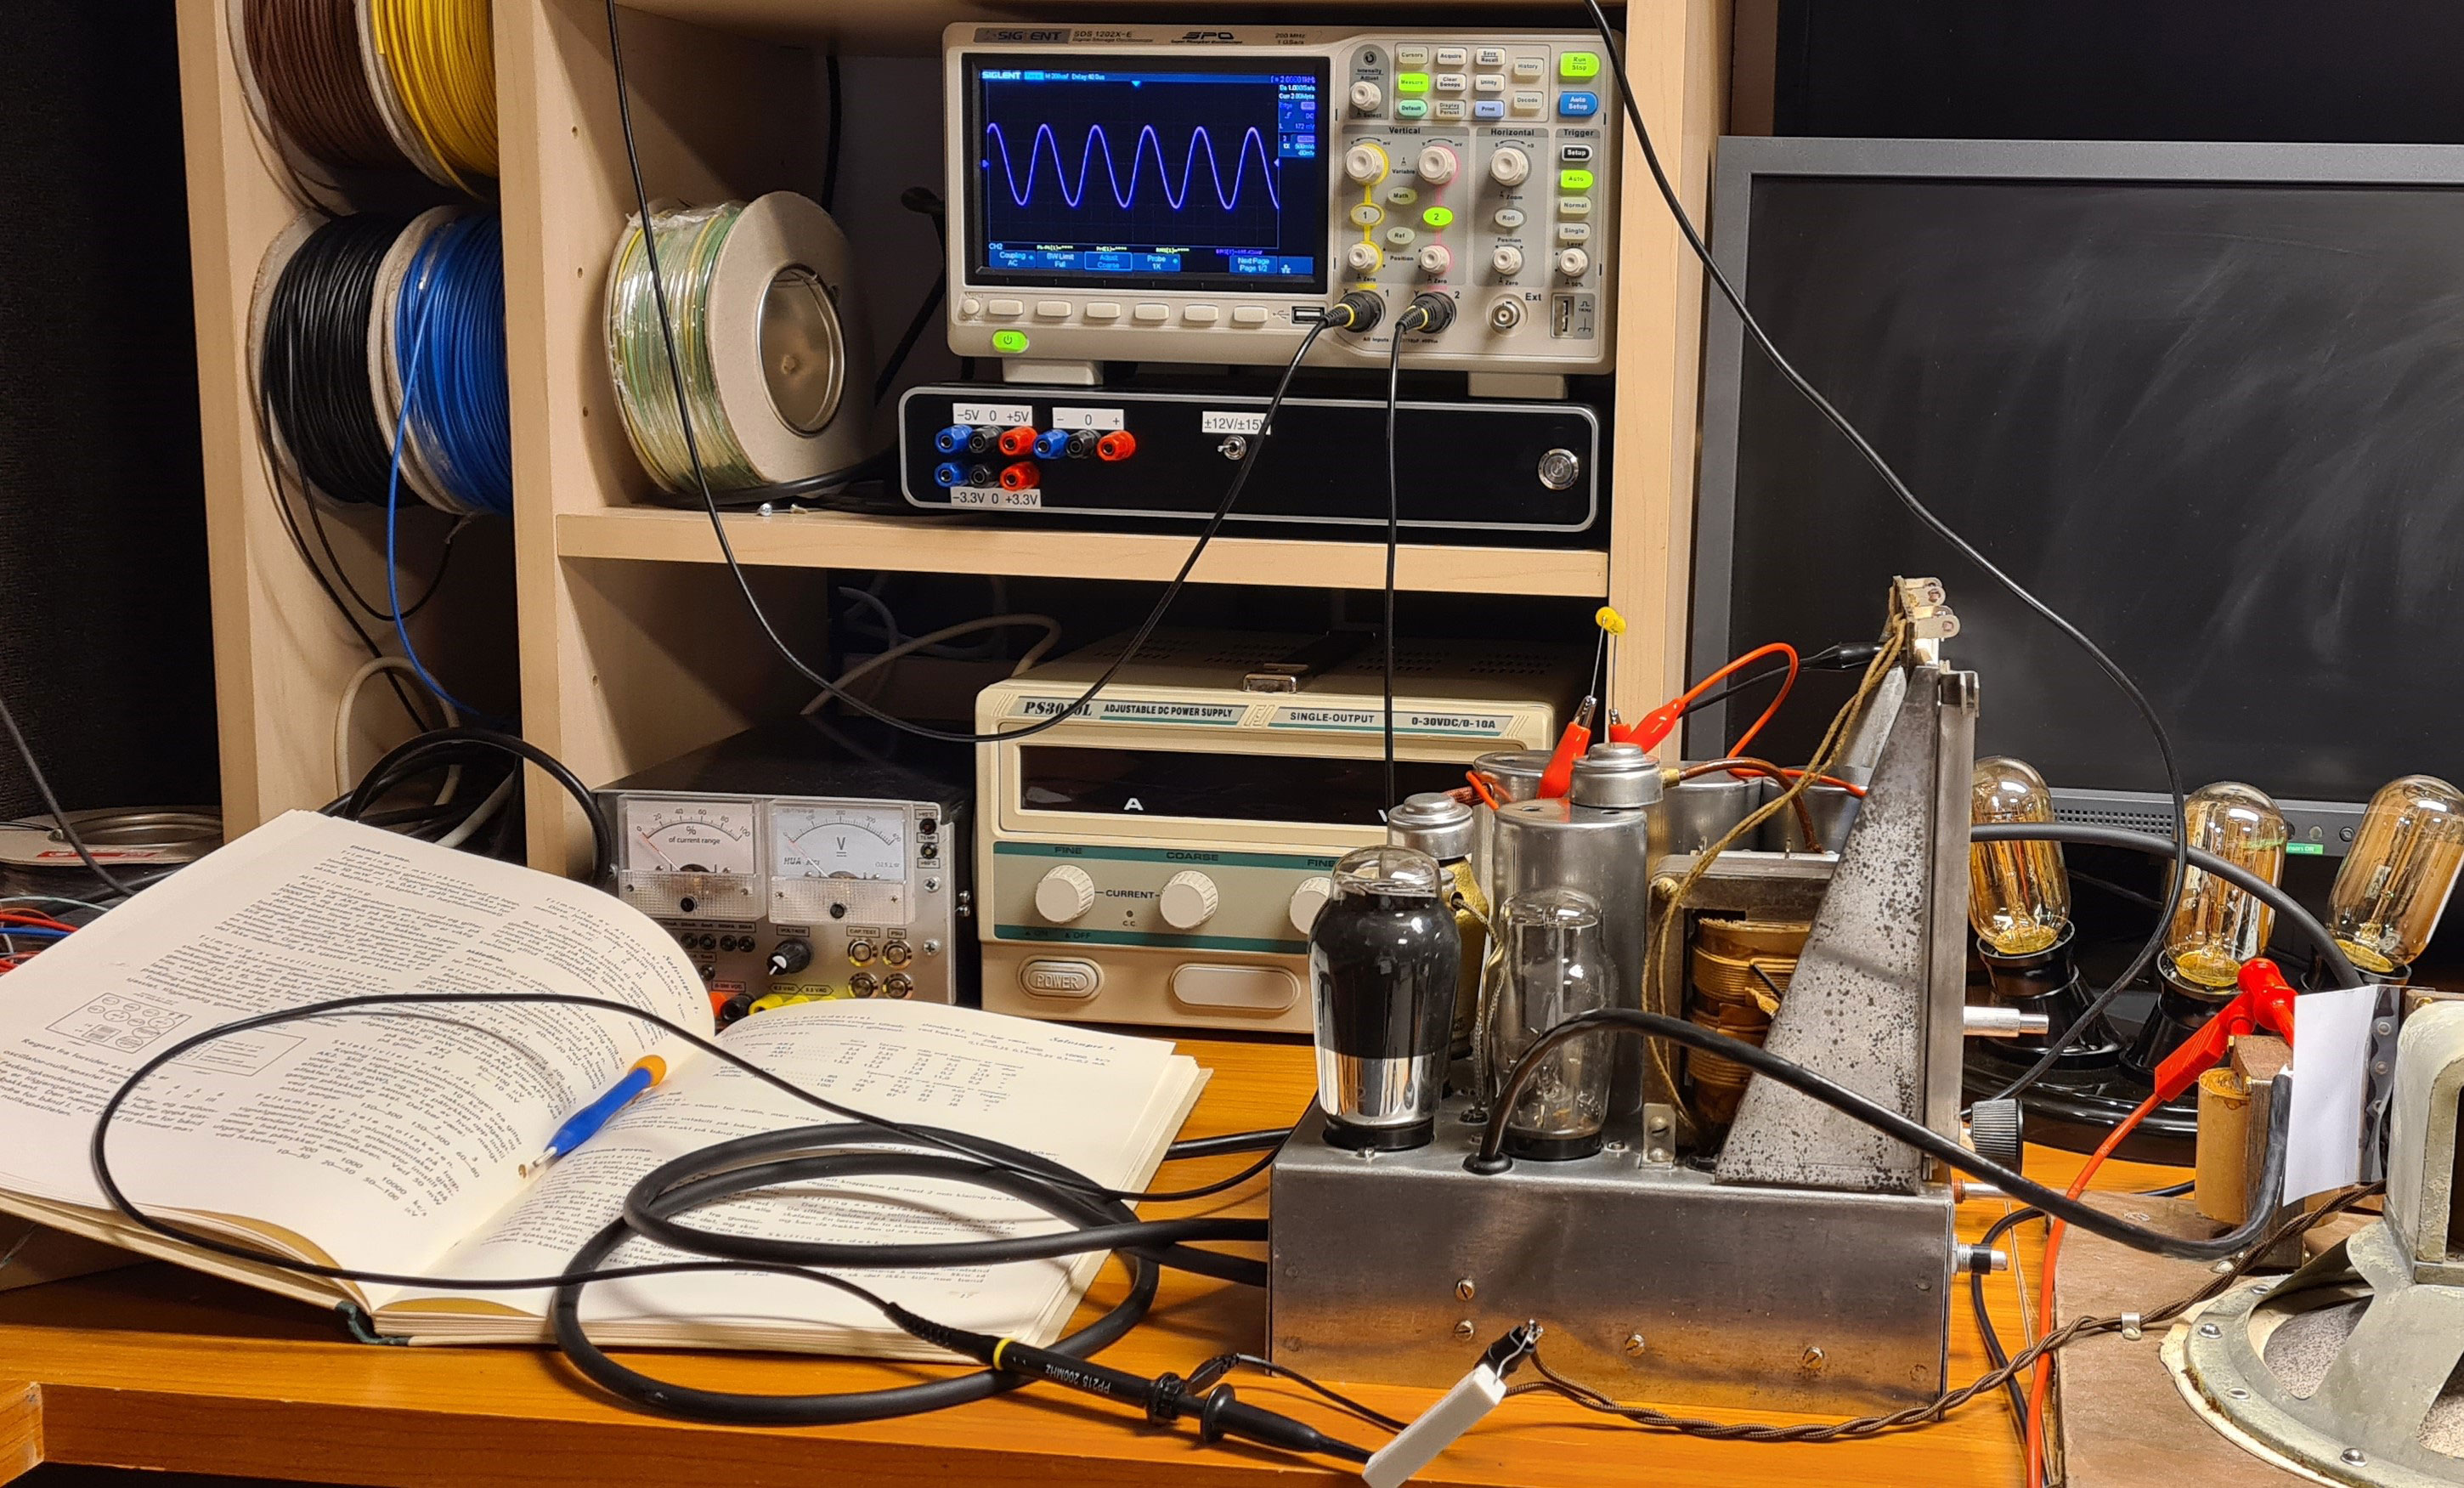
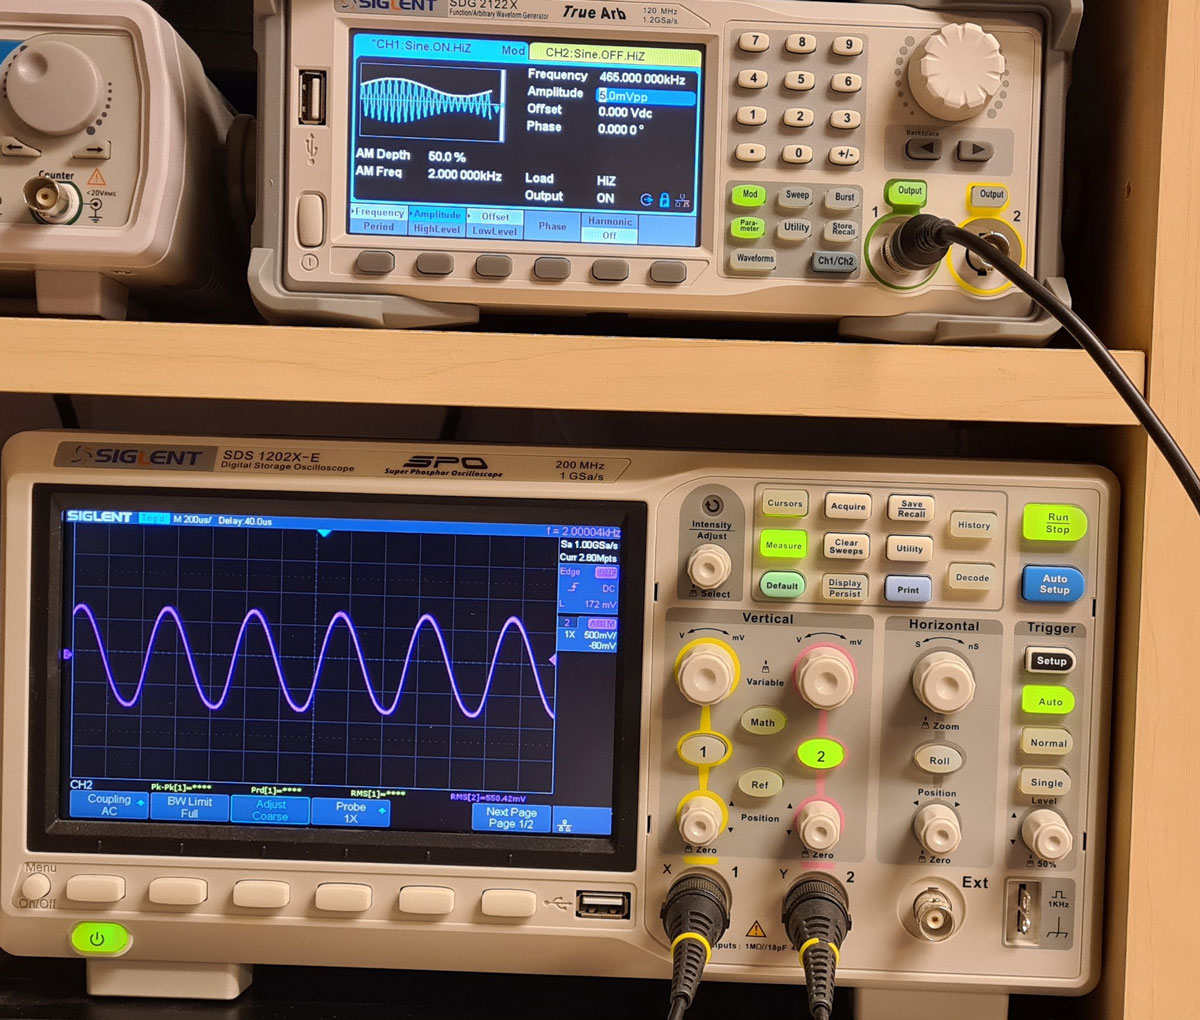
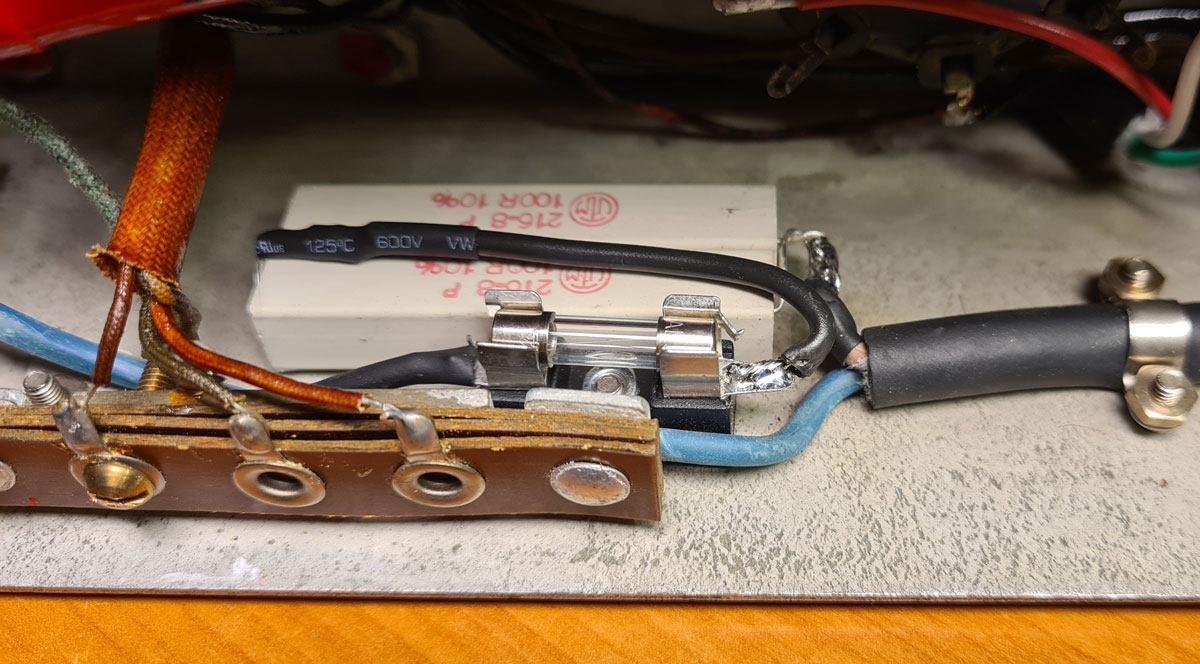
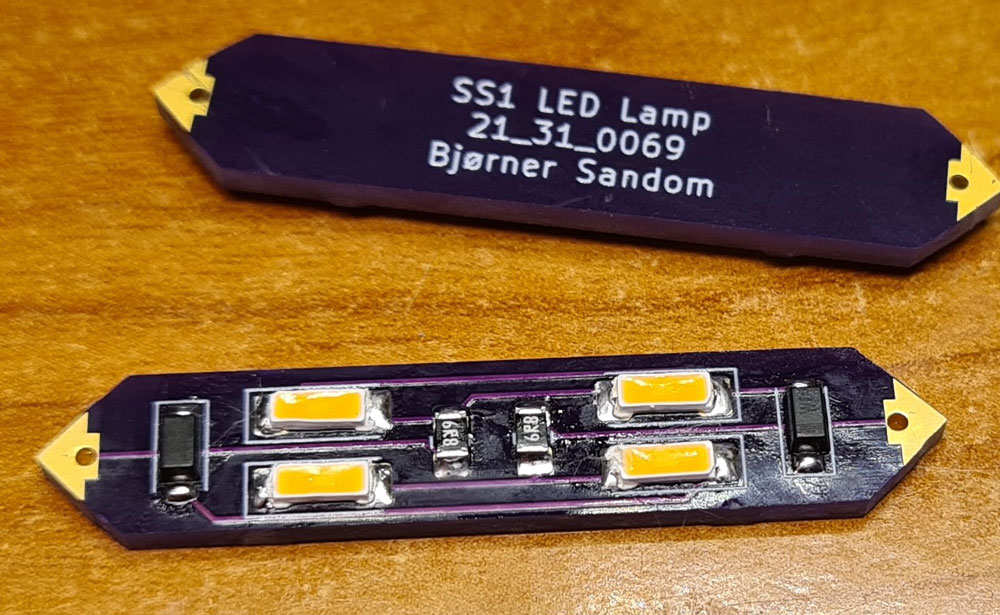
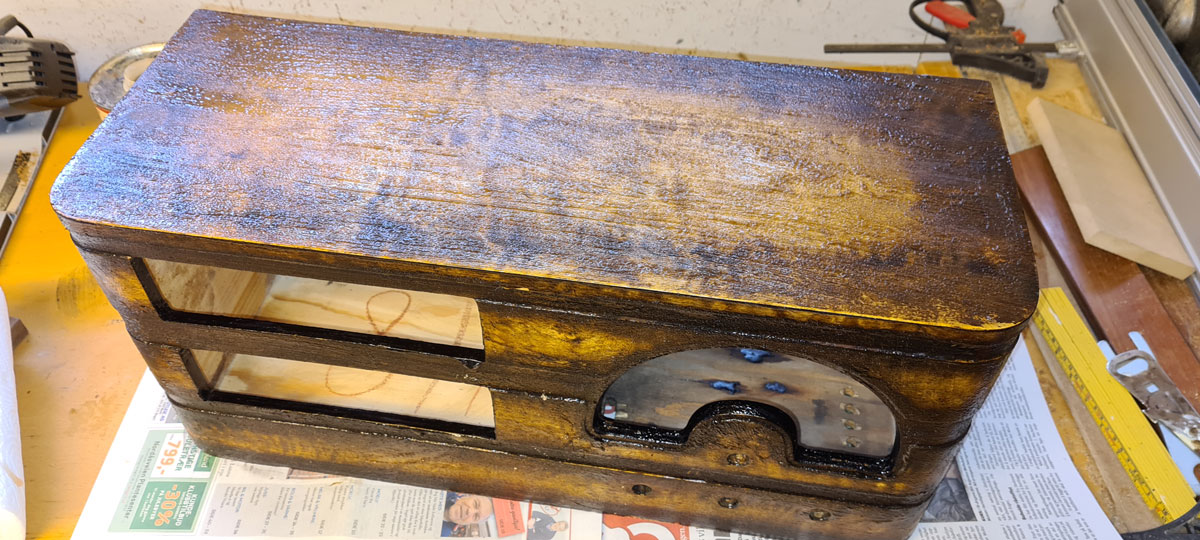
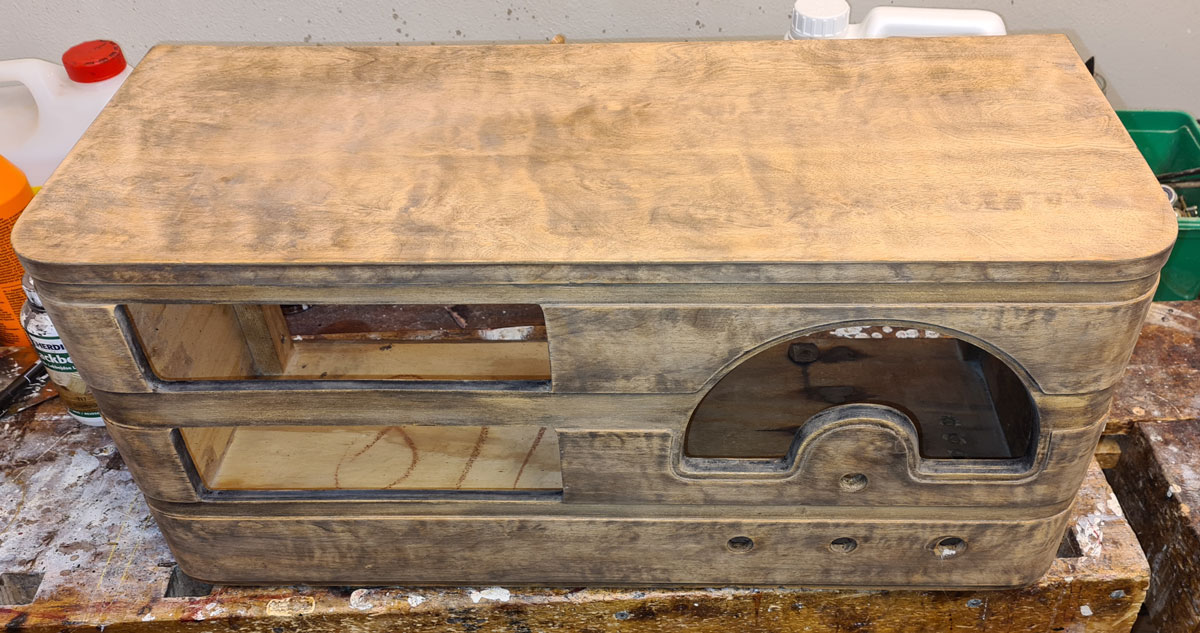
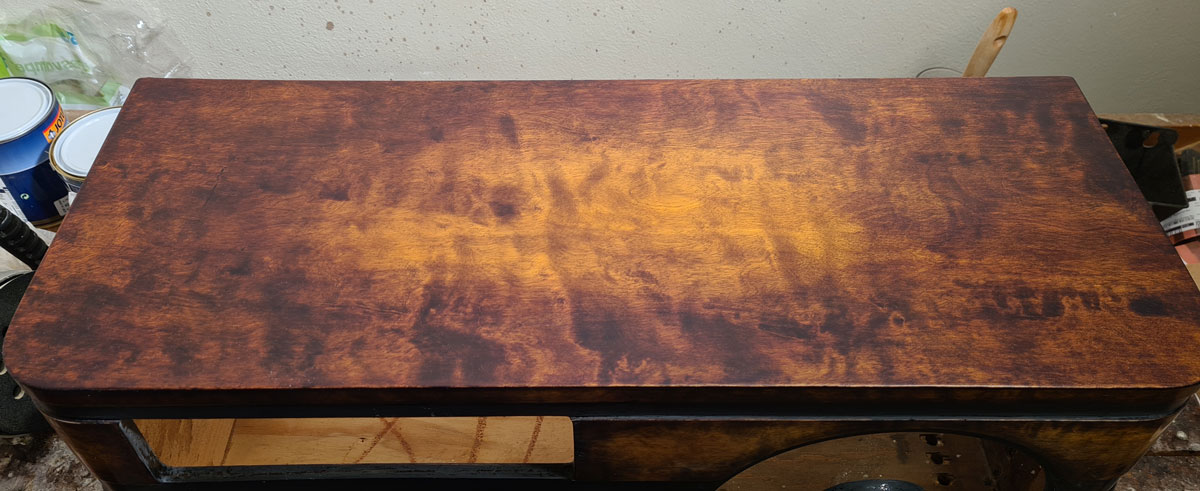
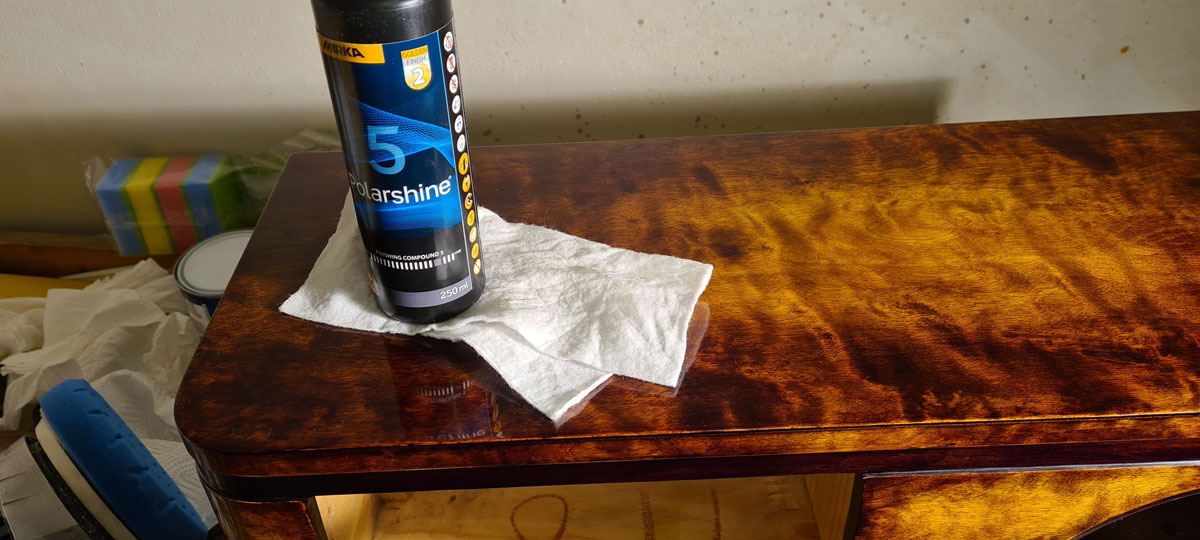
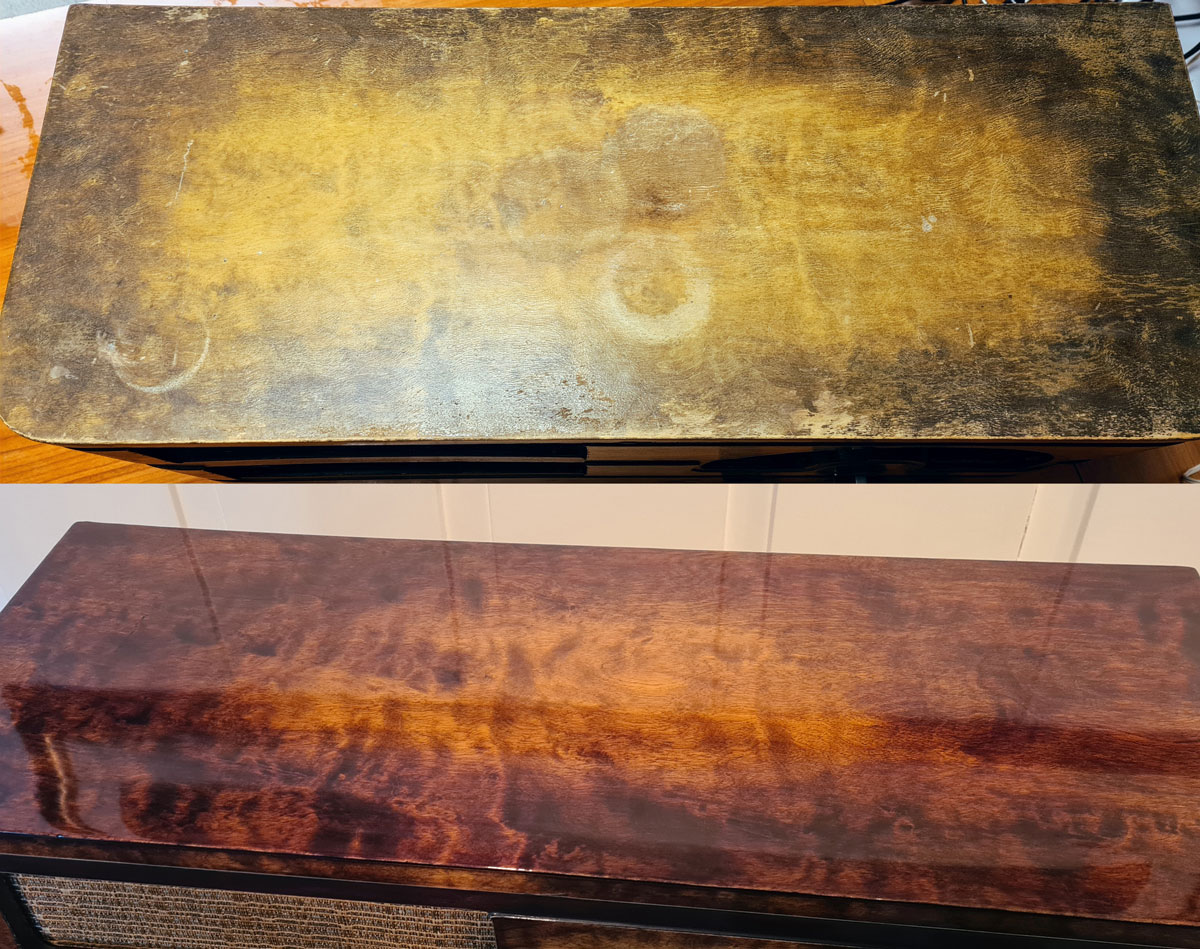
The same paper sleeve, containing a new polyester cap. No signs of leakage, and the capacitor looks authentic.Troubleshooting. Besides re-stuffing capacitors, I also had to replace the rectifier tube and the mains switch. No need for refoaming when the speaker cone has a surrounding of leather; made to last for a century. It looks prehistoric, but the speaker sounds better than it looks 🙂Dim bulb tester for safely powering on the radio. If a short should occur, the lamp(s) light up, instead of the radio going up in smoke. I made a dim bulb tester with three 60W lamps, which can be connected individually or in parallell (via switches on the outlet). This way, I can start with a 60W lamp in series with the radio, for lowest voltage and current draw, and gradually increase the power by connecting more bulbs.Alignment of IF filters, as per instructions in the service manual. To avoid having to listen to a sinus tone, I disconnected the speaker and used a 10Ω resistor as dummy load. Function generator delivering a 2kHz tone, AM-modulated on a 465kHz carrier, fed into the IF filter, while the oscilloscope measures the audio output from the radio.“Dummy antenna” for impedance matching when aligning the oscillator and RF filters.Originally, the radio wasn’t equipped with a mains fuse, so I added one for security. Also the transformer is intended for 220V, while the normal mains voltage nowadays is around 230V. This caused slightly elevated anode- and heater voltages. Two paralleled 100Ω resistors, connected in series with the primary winding, reduced voltages to desired levels. Unable to find replacements for the broken dial lamps; I made LED lamps on small PCBs which fit into the original sockets. The old varnish had to be removed.Liberon Stripper dissolved the most of it. The cabinet after stripping and sanding.For the dark recesses, I used Herdins Lakkbeis (stain) in dark brown color. The gradient were re-created using Herdins Lakkbeis in dark oak, mixed 50/50 with alcohol, applied with a sponge and then softened with a cloth soaked in alcohol. I applied 8 coats of Jotun Ravilakk, an amber varnish marketed for wooden boats.PolishingThe cabinet, before and after surface treatment.Restored to its former glory.


Leave a comment